Most folks only get to make one Sailrite Stackpack. We get to make two. Which -- if you like to sew -- might be a delight.
The first of anything is a learning process. New materials, vast size, different engineering of the various fabric components. A lot to learn.
The Stackpack process starts with an initial pass of measuring and cutting. The instructions feel oddly arbitrary. There's a lot of 6" and 7" measurements thrown around. A few 12" and 13"; numbers that can't be right for every installation -- can they? Serious sewing -- especially clothing -- requires much, much more accurate measurements.
The initial assembly of slippery fabric pieces is challenging. Mostly because you just don't know which measurements really matter and which measurements can have a few inches of slop. It's fabric, but... It's a lot of expensive fabric. We hate to make a regrettable mistake in assembly.
Shore Power
Some things can't easily be measured in advance. The Sailrite folks are very helpful here. You need to hold the Stackpack up against the actual sails and locate the positions of reefing lines and slugs. Once you have those measurements, you can embark on final assembly.
While our batteries are beefy, our inverter is ancient. It might work. It might not. I haven't tested it. But while we're at the dock, we have plenty of shore power. This means that the trusty old Bernina can take a trip to the boat, and we can do final assembly right in the saloon.
[Nancy, from Fawkes, made her two Stackpacks from her saloon. So we were pretty sure this would work out nicely. The space is a bit cramped. Since CA's comfortable horsing king-sized quilts through the Bernina, the Stackpack was a piece of cake. Just like Nancy said it would be.]
Decorative Touches
While waiting for Common Sense Fastener installation, I did a few small decorative chores.
Lamp. This is a Weems and Plath Yacht Lamp, mounted on the gimbal. It burns a kind of liquid paraffin that's quite safe, long-lasting and relatively smoke-free.
[The clock wasn't wound, so the time is wrong.]
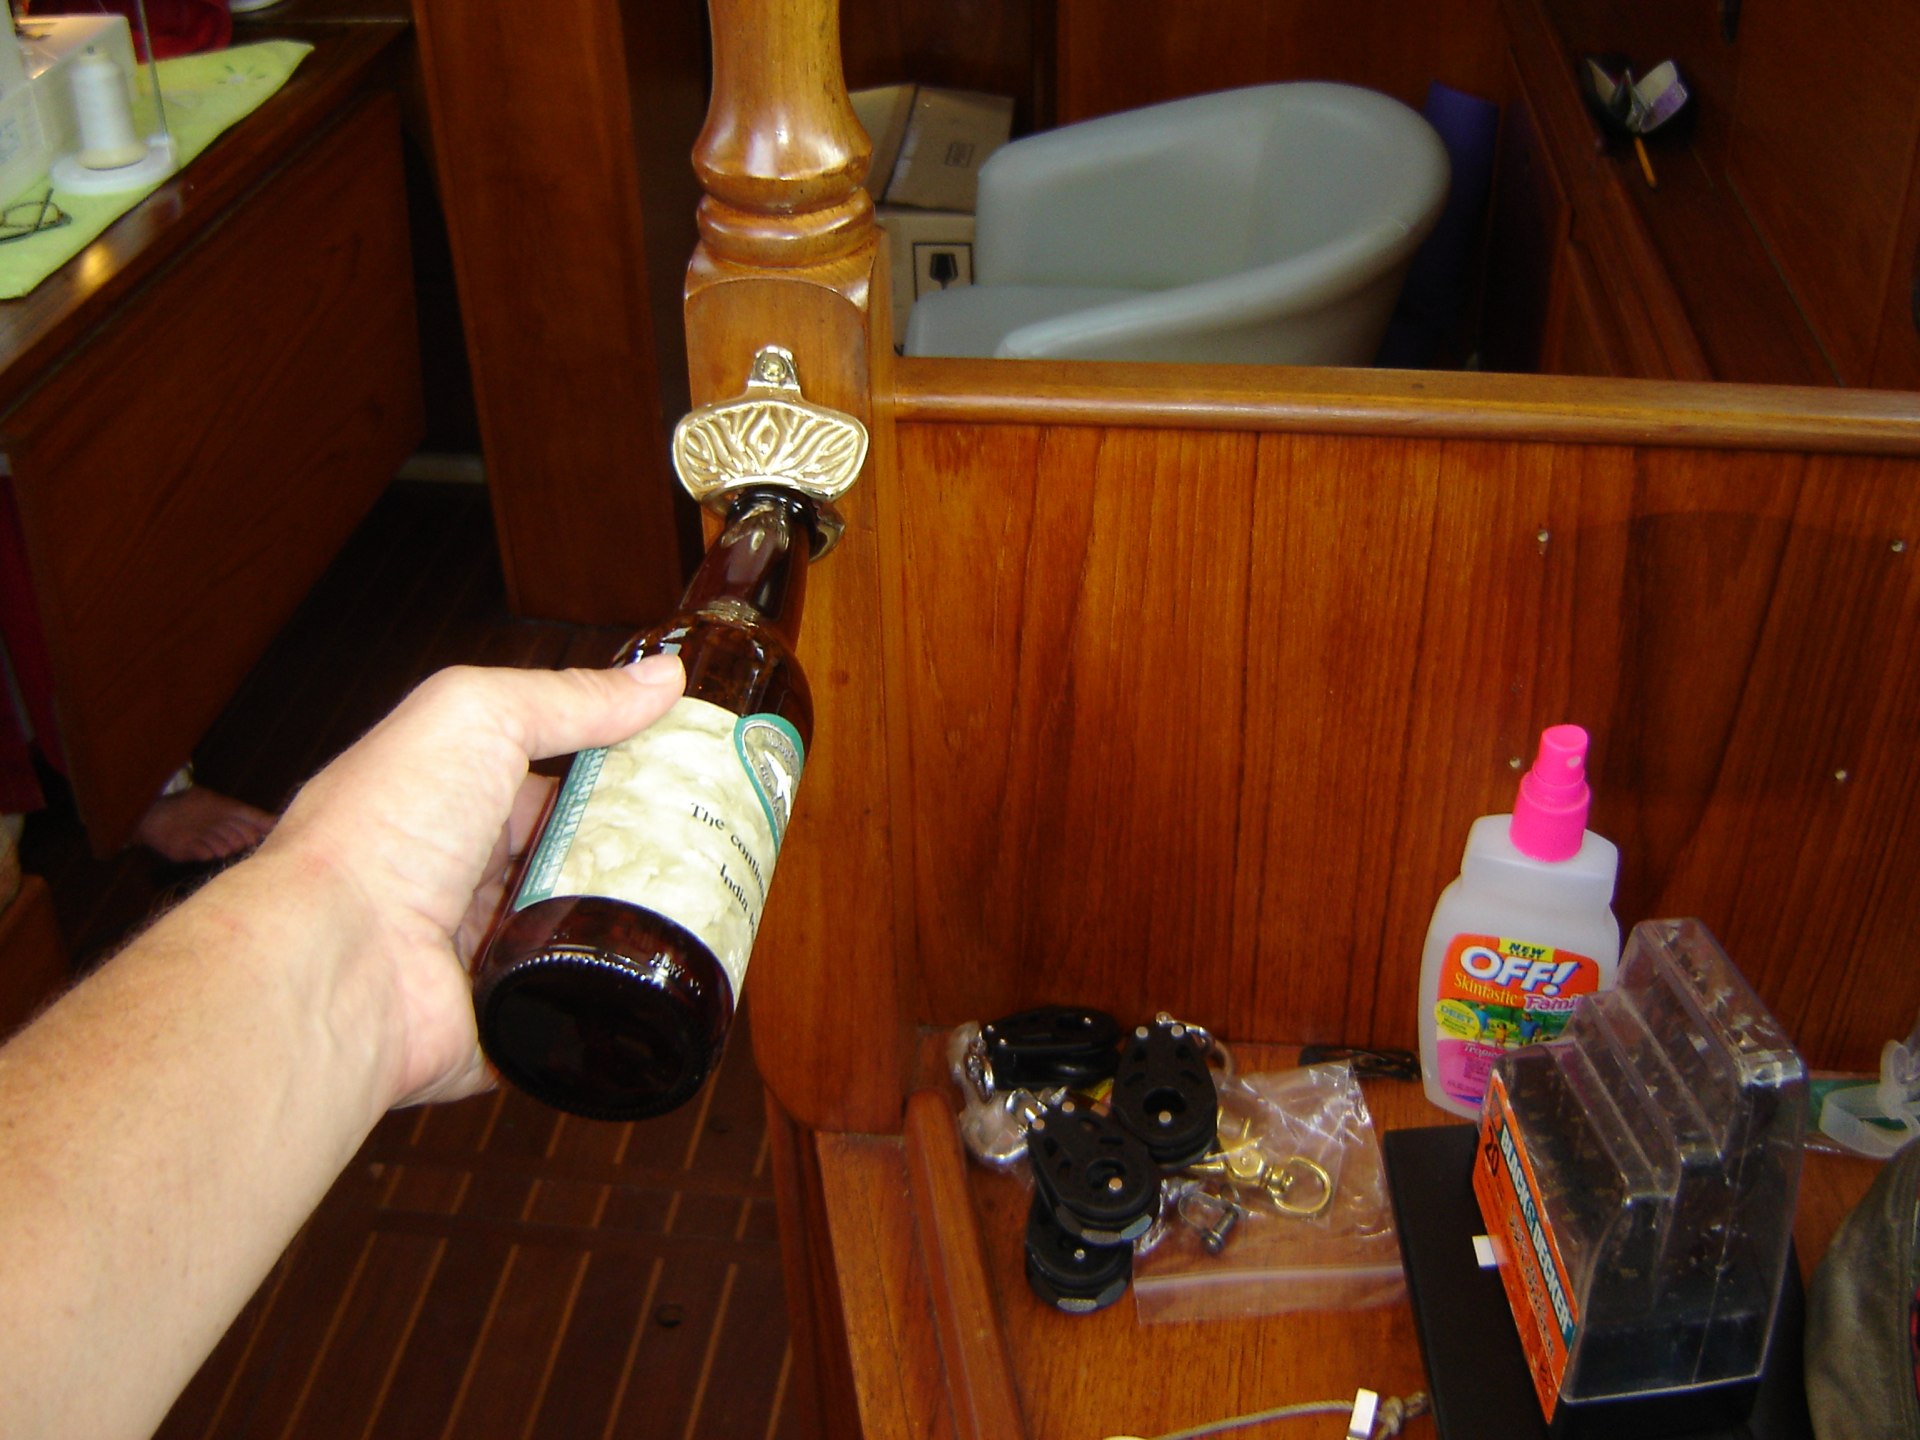
Bottle Opener. Saves rooting around in a drawer trying to find a church-key.
Can we have too much brass? I don't think so.
Final Installation
Once everything's pieced and assembled, it still needs to be attached. First, we put tabs on the stackpack for the lazyjacks. This meant -- also -- that we needed to partially disassemble the old lazyjack system. The Harken system used line which was "permanently" attached to the boom. The line was still good, so a little quality time with the drill and we can reuse the existing line in the new installation.
We also added a cleat on the mizzen mast to hold the front of the stackpack up. Right now, it uses a hank of bungy cord, but that doesn't feel right. There's doesn't seem to be a good reason to use stretchy line to hold the forward end in place.
It looks great! No more bending and unbending the mizzen to go out sailing. Can't wait to finish one for the main. Then we can take Red Ranger out without an hour of pre-sail prep time bending on sails.
Next Steps
Now we're ready to tackle the main. Then a new wheel cover. And winch covers. Lots of fun stuff to make and install. A boat is a lot of wood, plastic, steel and brass. Fabric preserves things from the sun and softens them. It takes the technical edge away from the deck fittings and makes the whole more homey and comfortable.
It's true that the fabric choices are a little limited. Sunbrella builds very durable fabrics. This is not Laura Ashley or Marimekko where you're paying for highly nuanced color selection. But once you're comfortable with their pallet, you can do a lot. Which -- if you like to sew -- is a delight.