Drill 24 holes in the deck? Are you crazy?
No. And No. It's not merely 24 holes in the deck. And we're not crazy.
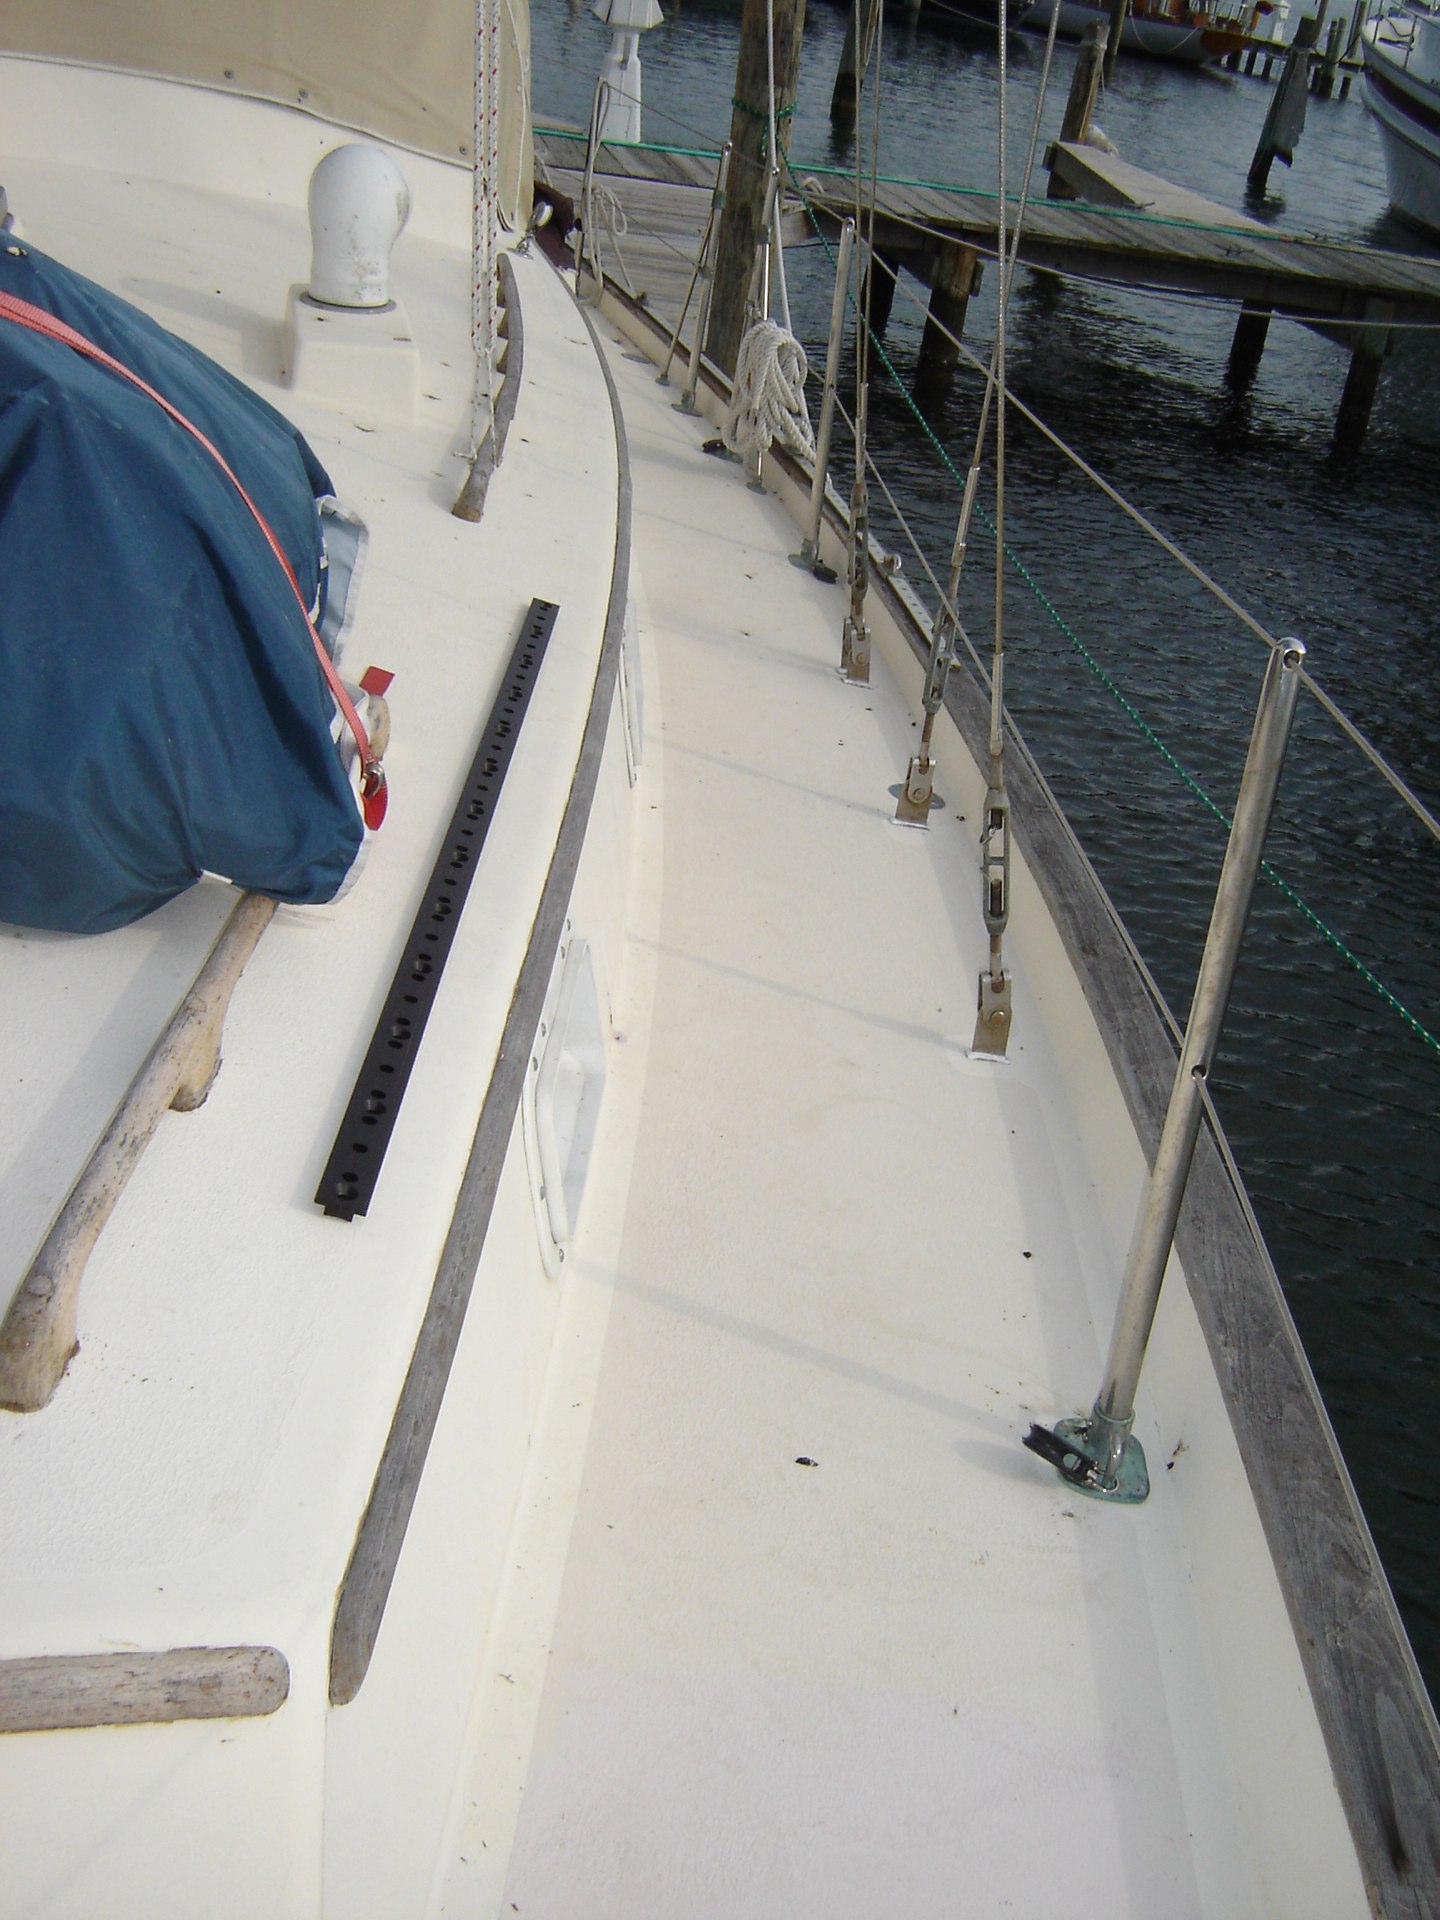
The stitching had failed on Red Ranger's venerable yankee and stays'l. In the process of taking measurements for a custom-tailored sail, Dave Baxter pointed out some serious problems with our deck hardware. The issue is that the staysail blocks are too far outboard and too far aft to be of much real value.
I checked with other Whitby owners. Most folks have added proper inboard stays'l handling. Some have an athwartship track just for'rd of the mast. Others have fore-and-aft tracks on the top of the coachroof. Mr. Baxter prefers the for-and-aft tracks because it gives us the flexibility to reef the stays'l if the wind gets hellacious.
The process shapes up like this.
-
Dry Fit
-
Drill and Fill
-
Screw and Goo
-
Fit and Finish
Dry Fit
Dry fitting the hardware seems silly. You lay the track on the deck, right? What else is there?
It turns out that there are two bulkheads to worry about.
Plus the "Charlie Noble" (chimney) on the starboard side. There's just no easy way to be absolutely sure you haven't run afoul of the bulkheads. Measuring on a curved surface is simply filled with little errors.
Lesson Learned. It's okay to skip a mounting screw and avoid drilling into a bulkhead.
Think of it this way. The engineer that designed the T-Track determined that the track would probably deform over a distance of 8" when confronted with insane outside-the-design-envelope forces. Therefore the track is tapped with holes every 4". On average, it won't deform if half the screws are omitted.
In our case, we should have omitted the two screws where we had doubts about the bulkhead location.
Drill and Fill
The first step is to drill the holes. The doubtful ones should not have been drilled. But wisdom sometimes arrives too late to be helpful.
We drilled until we felt the cabin top. We didn't drill all the way through. Just most of the way through.
(Actually, we drilled one hole all the way through to figure out how thick the cabin top is. 1.82". Add a fender washer (.05") and a nut that's .385" thick and we're looking at 2.5" machine screws.)
We drilled the official 5/16" hole. Then we overdrilled each hole with a 3/8" bit.
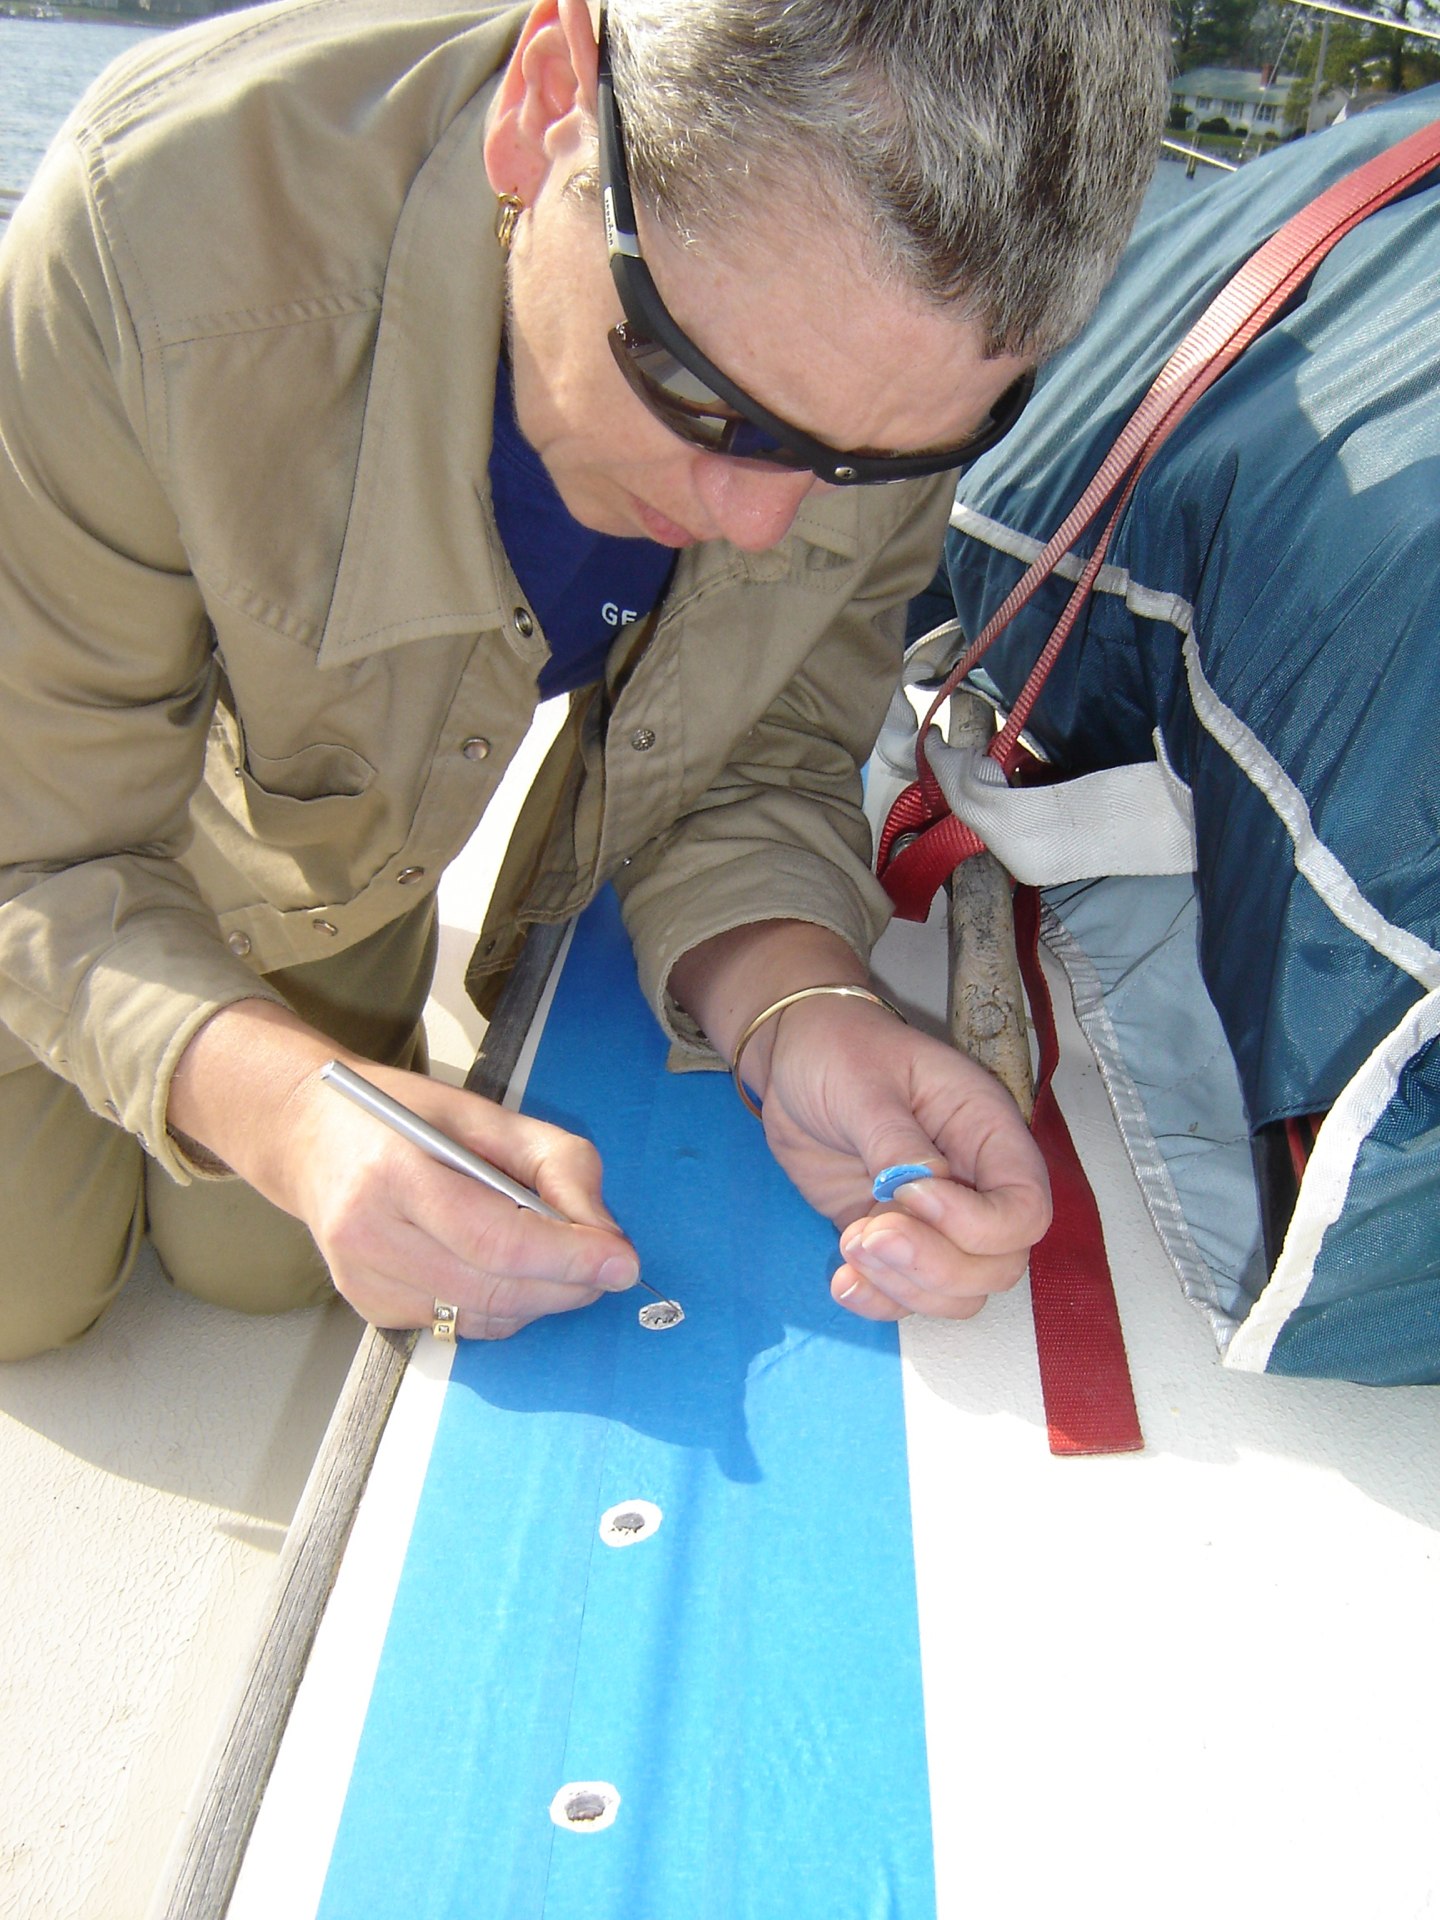
Once the holes were drilled, we masked with tape.
CA cut a window in the tape for each screw that would be inserted. That way, we didn't have to worry too much about slopping epoxy all over the place. And we did slop epoxy all over the place.
We filled each hole with slightly thickened epoxy. Standard thicknesses are "ketchup", "mayonnaise" and "peanut butter".
This wasn't even ketchup level. It was more like honey or syrup. We wanted to fill any void in the underlying balsa. And we want to wet out the balsa thoroughly so that moisture cannot penetrate.
Screw and Goo
The next day (after the epoxy had set for about 20 hours), we washed everything thoroughly. The epoxy can have an amine "blush"—a residue from the hardener. This is vaguely wax-like and tends to prevent adhesion.
Then we had to (ideally) redrill each hole right through the original hole. Without a drill press this is rather difficult.
Also, there will be dust. A lot of it. CA had just installed brand-new cushions in the V-berth. We don't want fiberglass dust on the new cushions, do we?
Before drilling, CA cut up a 6' × 7' tarp to fit the V-berth. With a few darts and some duct tape she make a kind of a "pan" to catch the dust.
Lesson Learned. A portable drill-press jig, is overkill. However, using a carpenter's square would have been a better approach than eyeballing it. While the track itself serves as a kind of jig to keep things square, the first two holes (before the track can be held in place with temporary screws) have to be done by eyeball.
Once the holes were drilled, and all the fiberglass and epoxy dust vacuumed up, we could put the screws into the track.
The tracks are 48" long with holes every 4". 48÷4 means 12 holes per track. Right? Check the math carefully. The screws are $2.50 each. Nuts are $.50. Washers are \(.10. We're talking 24×\)3.10 ≈ $75 of screws and stuff.
West Marine store #1 (Irma Lane) had 9 screws. West Marine store #2 (General Puller Highway) had 12 screws. 21≠24 What now?
M&M Hardware (out in Hartleyville) had the remaining three. 24 screws, ready to go.
Check the math. Count the screws. One per hole. Right?
Next step is the goo. In this case, we used Boat Life Life Calk. This is a polysulfide, which provides a solid seal but doesn't have the insane tenacity of a polyurethane (e.g., 3M 5200). Polysulfide gives us a fighting chance of rebedding this hardware if it should ever leak.
Then CA stood below decks with the wrench, assembling fender washer and nylock nut while I stood on deck turning screws until the boat life oozed out. We assembled everything approximately "finger tight".
After the goo sets up for a few days, it creates a kind of gasket. Then we can crank everything down tight against that gasket, forcing the last of the goo into every little crack and gap.
Overflow can be cut away with a razor.
Lesson Learned. 48" with a screw every 4" is 13 screws each side. Not 12 screws. Thirteen!
We realized we were two screws short after M&M hardware closed on Sunday.
We realized it after we had drilled all thirteen holes for the starboard side track.
What now?
It turns out that one of our carefully drilled holes on the starboard side was unusable. In spite of a careful dry fit, we had a hole that was too close to the bulkhead. We couldn't put a useful screw in this hole.
CA located a stubby little 5/16" by 1" screw in the parts bin. We gooped this screw up and essentially glued it into the hole as a simple filler for the void.
Okay. We're solid on the starboard side. We used 12 of our 24 long screws and one short screw. We have 12 screws for 13 holes on the port side. We'll just skip one hole until we can buy another long screw. We can drill that one out next week.
Turns out that the port side also had one screw which ran afoul of a bulkhead. So we needed another short screw to fill the resulting void where no nut could be installed.
We didn't know until after we drilled and nothing came through into the cabin. It would have been better to not drill this hole at all.
Oh well. Short screw covered with goo will fill the void and keep the rain out.
Fit and Finish
Need weekend, we'll tighten each of these 24 (out of a potential 26) screws.
We can then take the Dremel and carefully slice each screw off, leaving just enough thread exposed to screw on a decorative acorn nut. Or maybe we won't be quite so fussy and will move on to tackling the battery charger, diodes and switch issues. See Researching for the plan.