Red Ranger's interior was spotlessly clean, thanks to the wonderful care and maintenance by her previous owners. However. The fabrics were also a bit -- well -- "dated".
CA has the skills and the tools to completely rebuild all the interior cushions. One of the crucial decisions is whether or not to purchase new foam. Until you take some cushions apart, you really don't know if the foam is good or not. We've slept in all three berths, so we know the foam still works. We didn't wake up black and blue.
This is a job that's not easy to do on board. The cushions are big.
So we dragged the V-berth cushions down to the apartment where she could tackle them in a roomy, warm environment.
Angle Cuts
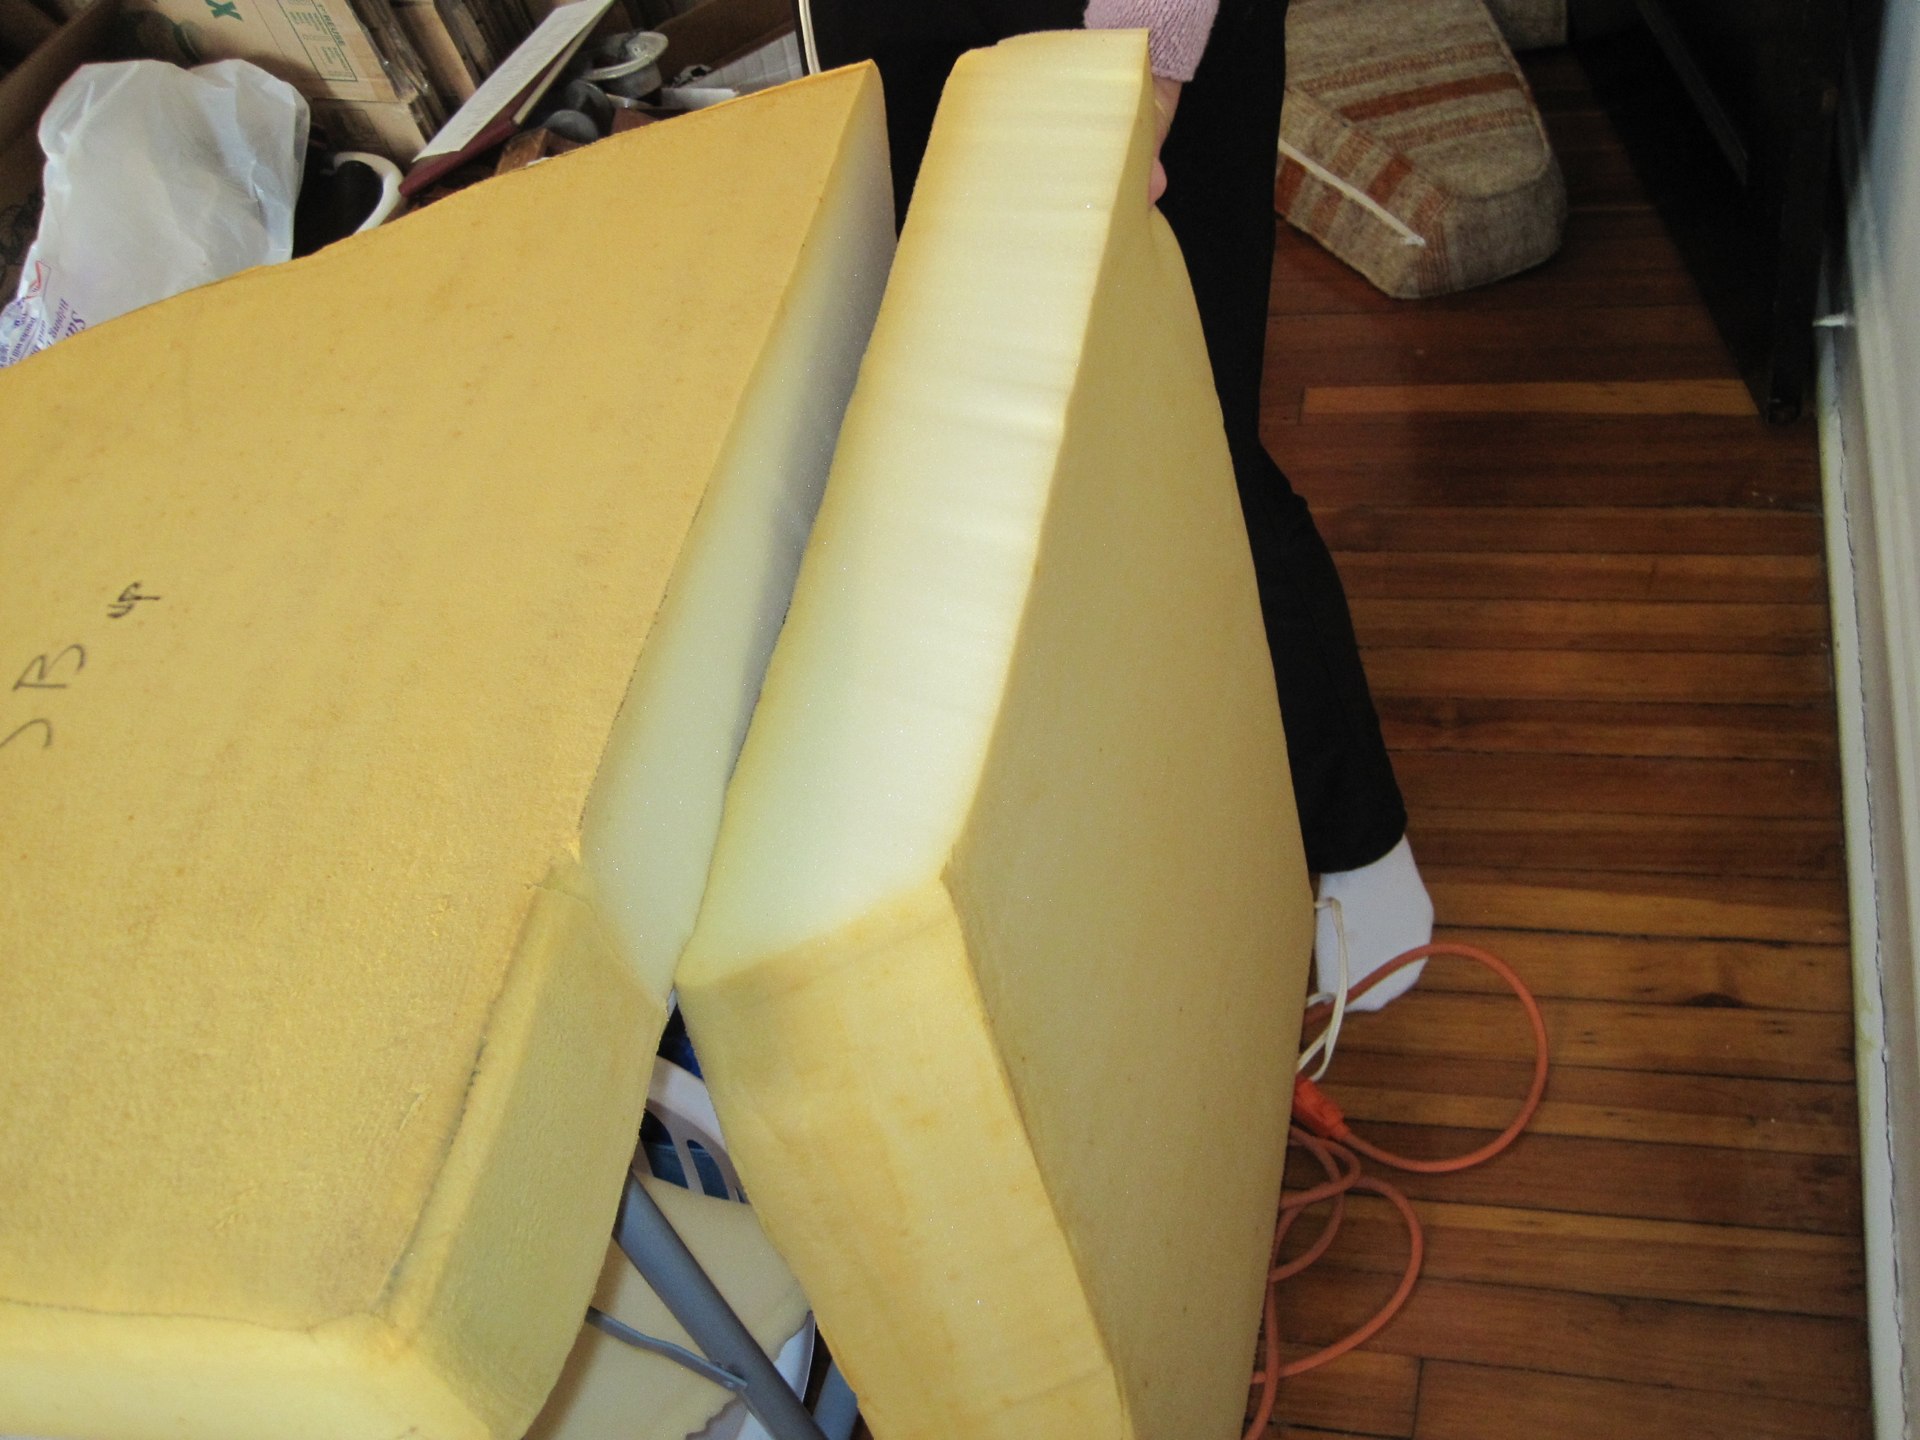
What's important here is that the foam is not cut square in any direction. Since it's V-shaped, none of the long-wise edges are parallel. That's expected.
But.
It turns out that the top and bottom are different sizes!
The V-berth forms a kind of "pan" that's smaller at the bottom than the top. Each cushion's top and bottom plate are different sizes. And the piece that wraps around the edge needs to have each corner assembled to fit the crazy angles of the foam blocks.
The other piece of engineering that's part of this job is gaining access to the two storage lockers which are underneath the V-berth.
These two lockers are copious. But they're hard to get to because you have hold up the 6-foot cushion while rooting around for the tool or part (or clean bathing suit).
She's dividing each side of the V-berth into two separate cushions. That way we can lift just the free end of the cushion to root around in the locker.
Status
As of today, all the fabric is cut. Measure three or four times and cut just once. My job was to ask "Is that the right side of the fabric?" The various plate sizes and asymmetries meant that every cut had to be completely visualized and confirmed. Her estimates came to within a yard or so what was required. The left-overs are for repairs and throw pillows.
She's ready to start the long, challenging sewing job. There are probably 60 or so linear feet of piping cord and welting to be assembled. She's got the nice foam welting from SailRite. The SailRite video was very helpful in showing how the make the cord on the LSZ-1.
At some point on Saturday night, the SailRite machine jammed and after that it skipped stitches. The owner's manual provides a large number of things to check. CA took much of the machine apart to be sure that the needle bar height was correct and the feed pressure was high enough.
The worst part of the skipped stitches is that three layers of simple fabric work. Four layers (with cording) doesn't work. Something is barely in tolerance with three layers, but pushed out of tolerance by that one extra layer of fabric.
Next step is to spend some quality time with SailRite tech support squaring away some part of the bobbin assembly. Maybe there's a burr on the gib hook. Perhaps the jammed needle bent the retaining cap spring or the shuttle driver.