

CA continues to work part-time.
We're saying goodbye to Blue Line II. We all thought their repairs were done and they'd be heading north to finish the Great Loop and return to Michigan. It's become more complicated than that, however. While we'll miss them, we're cruisers, and we'd like to see them go, too.
Liquid Therapy is back from being painted. Seranade, Jammin', Baloo, Motu (to name a few) are hanging around working on their boats for the summer. And then there's Kachina: minimal repairs, mostly day sailing and overnight trips from their summer base here in Jackson Creek.
Getting Red Ranger's chainplates out isn't impossible. It sure isn't easy. At this point, we've pulled 12 of 16. And it's not half as painful as Blue Line II's saga.
"What," you may ask, "is a chainplate?"
Good question. Let's tackle that before we look at Blue Line II.
Chainplates, General
Chainplates are the attachment points between rig and hull. Nowadays they're generally stainless steel straps. Ours are about 14″ long 1½″ wide and ¼″ thick. They do two things: they hold the rig up and they transfer force from rig to boat.
The job of holding the rig up is pretty simple, a few bits of wire rope attached almost anywhere around the boat will keep the mast from falling down. The mainmast is well supported by the keel and wedges in the foredeck. The mizzenmast requires a bit more care, since it's standing on the aft deck.
Terminology: a line going fore or aft is a stay; a line going athwartships is a shroud. Don't ask why, just memorize.
The job of transferring force from sail to boat requires some careful naval architecture and some meticulous rig tuning to be sure that all the force is transferred and it's transferred symmetrically. We don't want force lost to a wobbling mast or flapping shrouds. We don't want an asymmetry to make the boat handle funny on one tack. And we don't want to twist the hull or the rig.
Chainplates attach the rig to the hull. There are two sides to the hull: (duh) the inside and the outside. Some boats will have big straps of steel running down the outside. Easy to see and inspect. Leak-proof. Traditional. However, it also means that the boat must be a bit on the narrow side and the sails must be rather short to avoid hanging up on the chainplates. These boats will also require baggywrinkles to avoid sail wear on the shrouds.
Some boats have the chainplates on the inside of the hull with the heads of bolts showing on the outside. This is almost as easy to inspect as having the chainplates outside. This means, however, that the chainplate goes through the deck. And that means that there's a deck opening that can leak.
Some boats have the chainplates built inside the structure of the fiberglass hull. This can be an epic problem to sort out. Since the chainplate goes through the deck, any leakage would go down inside the hull. Stainless steel requires oxygen for the chemistry to work. Stainless steel in a fiberglass pocket with water in an anoxic environment might as well be black iron. It will crumble quickly.
Chainplates, Specific
The Whitby has 16 chainplates; they're attached to "knees" that jut in from the hull. One might try to call them brackets or deck supports. But on a boat, they're a knee. Each chainplate goes through a deck opening. Most of them are visible on the side of a knee.
Our chainplates are all made from stainless steel. Most of them are ¼″ thick, 1¼″ wide and about 14″ long. They're hefty bars of metal. The really big ones are ³⁄₈″ thick, 1¾″ wide and 18″ long. It's a serious piece of steel.
Two of them are molded into hateful pockets and are almost inaccessible. The other seven on each side are reasonably accessible. It may be awkward or it may be buried behind gorgeous teak furniture, but they can be reached by mortal hands.

The general procedure for all but the main backstays and mizzen forward shrouds is this.
-
Support the rig.
-
Mark the screws, remove the rings and ease the turnbuckle. Remove the cotter pin and clevis pin to release the shroud.
-
Unscrew five or six big bolts on the knee.
-
Bang it a few times to loosen it up. Except for the two in pockets, it will eventually pull out.

Scrape, brush and vacuum up all the detritus. Use a little acetone to clean up the surfaces.
-
Drop the plate back in.
-
Put the bolts back through. Tighten the nuts.
-
Pin the shroud, reset the turnbuckle to the marks. In some cases, this is challenging because there is a lot of force on the shrouds.
-
Squirt a generous wedge of Boatlife Life Caulk to reseal the chainplate back into the deck.
Last week, we did the backstay chainplates, which have the most complex rig manipulations.
This week, we're working our way forward.
The mizzen chainplates molded into hateful little pockets don't just pop out with a couple of taps with the hammer. They require a great deal of digging with chisels, paint scrapers and hacksaw blades to loosen them up in their tight-fitting slot.
They also require some proper leverage to move them out. I lashed the chainplate to the handle of a ball-peen hammer and used this this to lever the plate up a few inches. Once the plate moves at all, it can be pounded in and pulled up a few times until it finally comes free.
Interior Details
Of the 16 chainplates, 8 are directly accessible in the aft cabin and head. These are the six mizzen chainplates plus two backstays. Of the for'rd 8, one is in the for'rd head and is directly accessible.

It's opposite, however, is in a hanging locker behind the air conditioner, and inaccessible without actually removing the A/C unit. The good news is that it's only three hoses, two wiring harnesses and two ducts. The bad news is that it weighs almost 100 pounds.
The other part of the good news is that it slides out neatly and can sit on the forward head floor while we work on the chainplate.
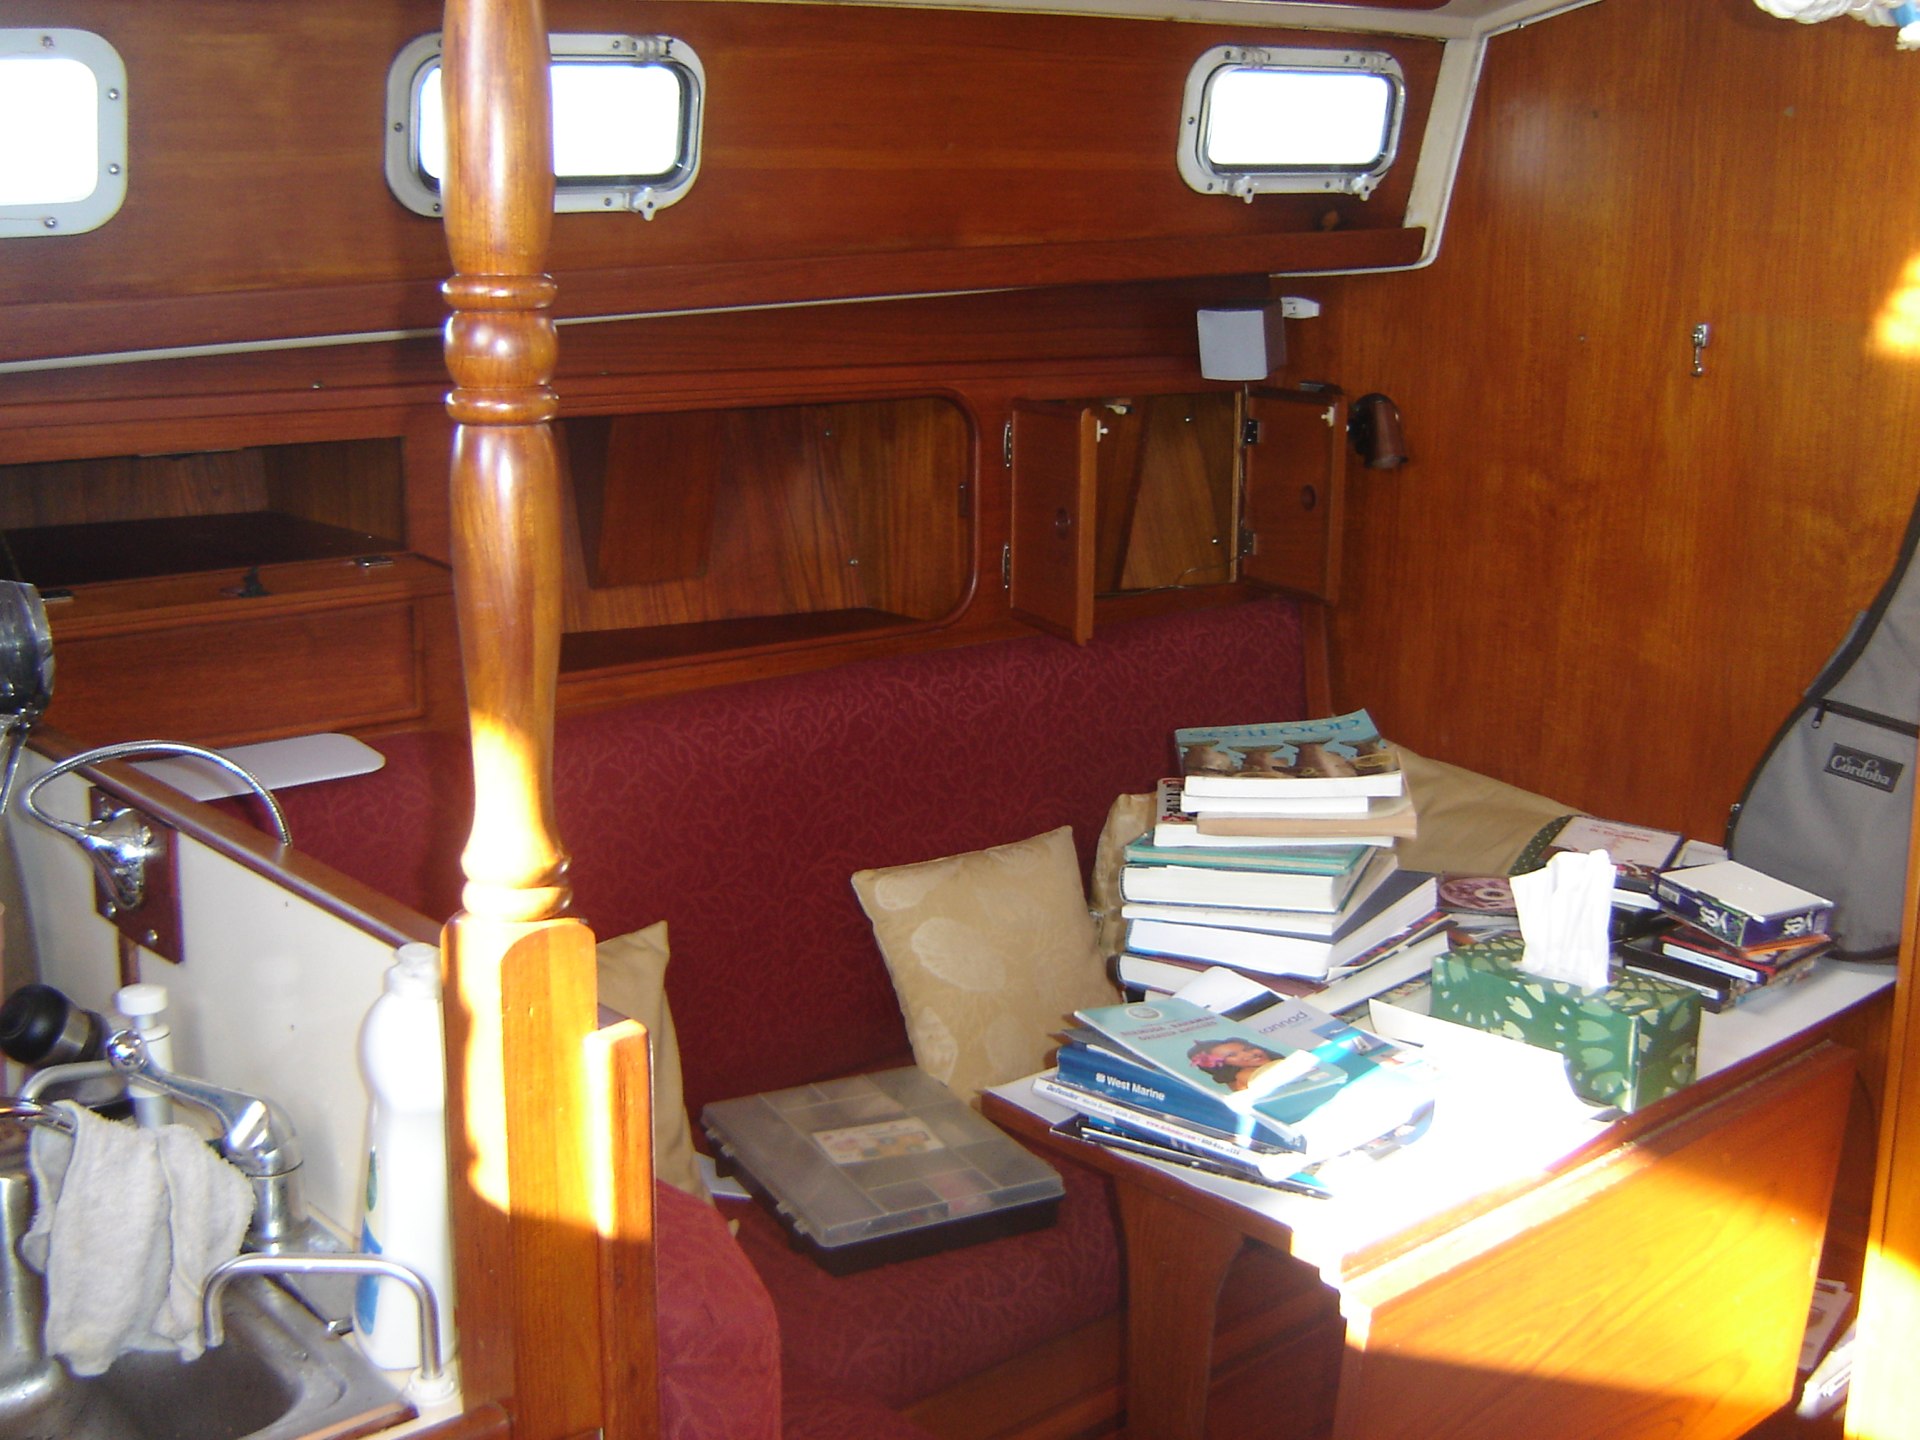
Teak Furniture
There are six chainplates buried behind the beautiful teak furniture of Red Ranger. That means the furniture must be taken apart, piece by piece, to access the hull. Step one is for CA to completely dismantle the bar. We had to drill out the beautiful teak bungs and wrestle large pieces of wood out of tiny holes.
[No bar is a problem: I can't find the rum anymore. It's on the boat somewhere.]
Enter the Fein Multimaster 250. With the E-cut blade. We've since learned that we should have the flush cut blade, too. And the high-speed blade. But we don't want to wait around for mail-order to arrive, so we're cutting not-quite-so-flush as we'd like.
[Ace Hardware sells a similar oscillating tool with adapters for the Fein and cheaper blades. An interesting alternative to mail-ordering Fein blades.]
The bar (and the bookshelf opposite) get us access to 4 chainplates. And we think we can reassemble these without too much visible damage. Mostly we'll have several exposed screws where we didn't (and won't) replace the teak bungs.
[The original bungs were turned so that the grain between bung and board matched. Nice. Until we removed them.]

CA's in charge of dismantling and reassembling. It's tricky to get the pieces out and back in with the proper orientation. She's the puzzle queen. I hold the light and hand her tools.
For'rd Cupboards
The little cupboards for'rd of the bar (and bookshelf) get us to two of the chainplates. The cupboards have narrow openings and the piece of plywood paneling on the inside is (so far) impossible to remove. We can't even find all the screws securing it. It appears that one of the screws is behind some glued and stapled shelf supports that we can't neatly remove. Sigh.
After cutting away the box that covers the knee, we can see most of the chainplate: it's the vertical slash of white fiberglass in the photo above. We can't get wrenches to all of it yet, so we have to remove more of the back of the cupboard. In the upper right-center, you can see a few inches of hose that's behind the cupboard, adjacent to the chainplate.

In the back of the cupboard, there's a weird little window that allows us to see the hose. Behind the hose is a decorative piece of trim with purpose other than to make the back of the cupboard appear solid. The window is too small to do anything useful; it's more of a pain than anything else because things can fall through the window and wind up down inside the hull somewhere. And the decorative piece in back blocks access to the chainplate bolts.
CA had already made Phifertex panels to cover up the weird little window at the back of the cupboard.
We've made the window a lot bigger. Big enough to fit hands and wrenches through. Now she has to make a big new Phifertex panel to cover the entire back of the cupboard. We'll have permanent access to the chainplate for future inspections. And slightly less complex woodwork. And perhaps better anti-mildew airflow.
Port Side
The starboard side bar was complex, but relatively easy to dismantle. The port side bookshelf is an absolute show-stopper. We can feel some screws deep inside the furniture, but we can't figure out how to get it all apart to get at those screws.
It's not easy to see from this picture, but there are two "boxes" inside the shelves. The boxes hang down from the top of the shelf at an angle and conceal the knees. It's clear that some supports were glued to the hull. A piece of paneling was rough cut to leave room for the knee and then screwed to the supports. Then the boxes were screwed to the supports over the paneling.
After that the rest of the furniture was assembled in some order we can't discern. We have some clues: the bottom shelf is clearly put in after the paneling.
We've talked to other Whitby folks and the answer is that it's not easy to get the bookshelf apart. Even skilled woodworkers have results which are less than perfect. The essential problem is that there's no obvious last piece in first piece out. It sure appears that the long, beautiful teak face was put on last, and the screws covered with bungs. But. We can't find enough bungs to be sure of that. That leads us to think that some piece of trim is covering the screw heads.
Chainplate Bedding On Deck
See "Chain Plates progress" from The Incredible Hull's blog. This shows how we can carve a little space around the chainplate opening on deck and check for exposed balsa core material. If there is core material exposed, it must be protected from water intrusion via a barrier coating of epoxy. And, of course, the removed deck material must be replaced with thickened, structural epoxy.
The process is "simple." Paint the exposed balsa core material with unthickened epoxy. Once that cures, fill the rest of the space with thickened epoxy. The not simple part is keeping epoxy from dripping down the slot and into the boat. For this, a little dam must be erected. For chainplates without a hateful pocket, the dam can be as simple as tape under the deck to hold the epoxy outside. The slot will need to be recut, but with clear epoxy, it's easy to see where it needs to go.
For the hateful pocket chainplates, life is a bit more challenging. The pocket appears to be molded onto the underside of the deck, so it's hard to stuff some tape in there to prevent epoxy from running down into the slot and filling the space.
It may make a bit of sense to take the Fein tool and attempt to separate the pocket from the deck. The molded-in pocket is only 1½″ wide. The cut will need to dig through a fairly thick piece of plywood (perhaps ½″ or possibly even thicker.) Making a window at the very top of the pocket may make it easy to wedge tape under the deck to keep epoxy from running down inside the pocket. Making a ¼″ window at the very bottom might allow water to drain in the unlikely event the deck goo fails.
Blue Line's Saga
Our neighbor has been Blue Line II. They're on their way around the East Coast on a journey called The Great Loop.
They developed engine problems. Serious engine problems. Blown engine requiring a rebuild.
They pulled in to Deltaville where there's a solid team of skilled mechanics who can pull an engine, crate it and ship it off for a rebuild. When it comes back they can replace it.
The Boatyard mechanics are skilled enough to note that the shaft on the the engine being removed didn't turn freely. Which means it's probably bent. After some work (and some money) it's clear that the strut and shaft were bent. Probably from a collision with some underwater obstruction.
So. Engine. Shaft. Strut. Propellor. All good so far. It's just a lot of waiting around for Blue Line. Not so bad for us, they're really nice people. We're delighted to have them as neighbors.
Then the engine comes back, ready to go. It turns out the exhaust system, adequate for fresh water, isn't really up to salt water, and parts need to be replaced.
In addition to everything else, there's an exhaust rebuild thrown into the mix.
Finally. Early this week, everything's installed and ready for sea trials. There are some problems, but they're minor. The oil cooler, for example, drips. Easily fixed. Replace the carpeting destroyed while extracting the engine.
And...
[Wait for it.]
There's a weird oil pressure drop. Which means a blown seal inside the engine. Which means the rebuild was a shoddy, half-assed job.
And that means pulling the engine, sending it BACK for anther rebuild, and waiting around for it to be reinstalled.
They can't make Michigan by the end of summer. The question is, "What's the fallback plan?" And the answer appears to be that they're leave the boat here, winter in Michigan and resume their Great Loop in the spring.
This Week
Engine Hours: 0. Diesel Gallons: 0. Miles Run: 0.
Read Aloud. The Wise Man's Fear: The Kingkiller Chronicles. Book 2. Finished. Waiting patiently for book 3. See http://www.patrickrothfuss.com/content/world.asp Rothfuss needs to hurry up. So, for that matter, does Martin for Song of Ice and Fire (a/k/a Game of Thrones).
Started the Mistborn Trilogy.
Travel
| Attribute | Value |
|---|---|
| Engine | 0. h |
| Diesel | 0. gal |
| Distance | 0. nm |

