

See Preseverence. The gas didn't work on cold mornings. Jeri fixed it by wrestling the hose up into the air to slosh around a drop of condensed, cold propane so the gas could flow past it.
Before that, however, the electric sparker on the Force10 hasn't worked for a while. A long while. CA's been using the welding sparker. It works well, but, it's not as nice as the electric sparker.
The going away for a year means batteries go dead.
About a year ago, we put in a new battery. Not working. Sad face.
The hardest part is lighting the oven by reaching in with the sparker. But. I will have my grilled Brussels sprouts, and that means laying down with my arm all the way in the oven.
Coming back and then going away for six months means the problem made it to the list of things to do (in Trello.com) But. Not actually fixed.
If it won't spark, then, duh, it's the big spark ignition box. Right? Wrong. Replaced it. (http://www.force10.com/files/documents/Spark%20Ignition%20Box.pdf) Still won't spark.
If it won't spark, then, duh, it's the button. Right? Wrong. Took it apart. It works. Put it back together.
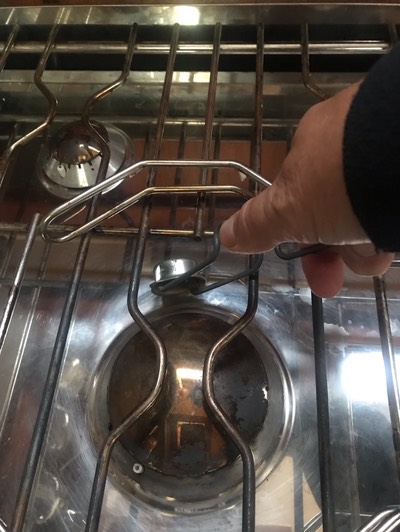
It can be corrosion on the little electrical elements in each burner. Cleaned them. This wasn't easy: a little bit of spilled whatever can be baked into the components so it sets up like epoxy. I hate to apply too much force to get things apart: most of a Force 10's top is a beautiful sheet of stainless to keep food away from the gas tubes and wires. The burner elements themselves are pretty robust, but those are machined precisely to give a good gas-and-air mixture.
After carefully getting them teased apart and cleaned… still… nothing. No spark of joy.
Okay. Okay. Breathe.
What's left?
The wires themselves. Force 10 says they might chafe through on some of the sheet metal edges and lead to a short circuit. So. Get out the probe and look for continuity problems.
And. Victory. No connection between battery negative and ignition box negative. Yay. Order some High Temperature Wire. Okay. This is looking positive.
And then… This...

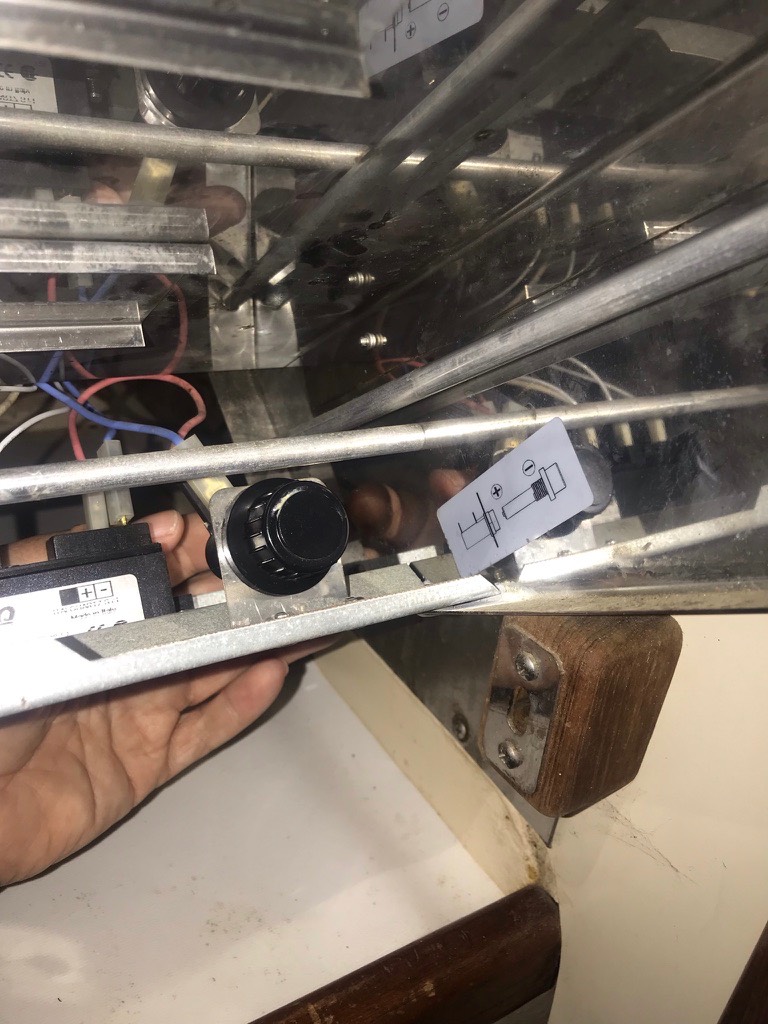
I've got all my things. I'm ready to rumble. Prop the stove up with a stick so I can get a good look at things.
It looks like the negative wire isn't solidly on the battery mounting bracket.
Let's just pop out the battery and be sure. (It was months ago that I last checked any of this.)
And. Lo!
The little container for the battery is a wee bit flopsical in there. It doesn't sit solidly in its little frame. It has 60° of play.
Let's just mash the wire on the connector until we feel a click from the little springy bits.
Then, lets carefully screw that battery cover all the way on, holding the case to be sure that it really is solid. And rotating it so it sort of aligns with other wires.
Spark.
Nothing was wrong, really. The procedure for battery replacement needs a lot more care.
-
Remove everything from the cook top.
-
Unlock the gimbal.
-
Rotate the stove up as far as you can.
-
Prop it up with a stick.
-
Be sure you can comfortably grab all the parts down there. Don't try this laying down on the galley sole. Don't reach awkwardly under the stove still upright.
-
Unscrew the cap. Replace the battery. With the stove up like this, you can see the sticker that shows which way the battery goes in. If you can't see the sticker, get a longer stick to prop the stove up at a higher angle.
-
Now. Screw the cap down right hard, holding both parts of the battery holder.
-
Reach up and touch the sparker button for the joy.
-
Remove the stick.
-
Lock the gimbal.
-
Replace the pans on the top of the stove.
-
Act like you knew this all along.
Emphasis on hold both parts while you're screwing it together. Which can only be done when you have easy access to the whole thing.
I test it a few times each day, just to remind myself how much joy is sparked in my heart when a small thing like this works. One less little step in making coffee.
CA points out that lighting the stove while sailing had started to worry her. She hadn't done it yet, but her plan was to leave the pot in the sink while getting the stove lit. Hopefully there's no little lurch from a wave while her hand is near the fire. Then transfer pot to stove. It's not impossible or even very difficult, but it's extra steps, each of which adds a risk of getting burned or spilling dinner on the cabin sole.