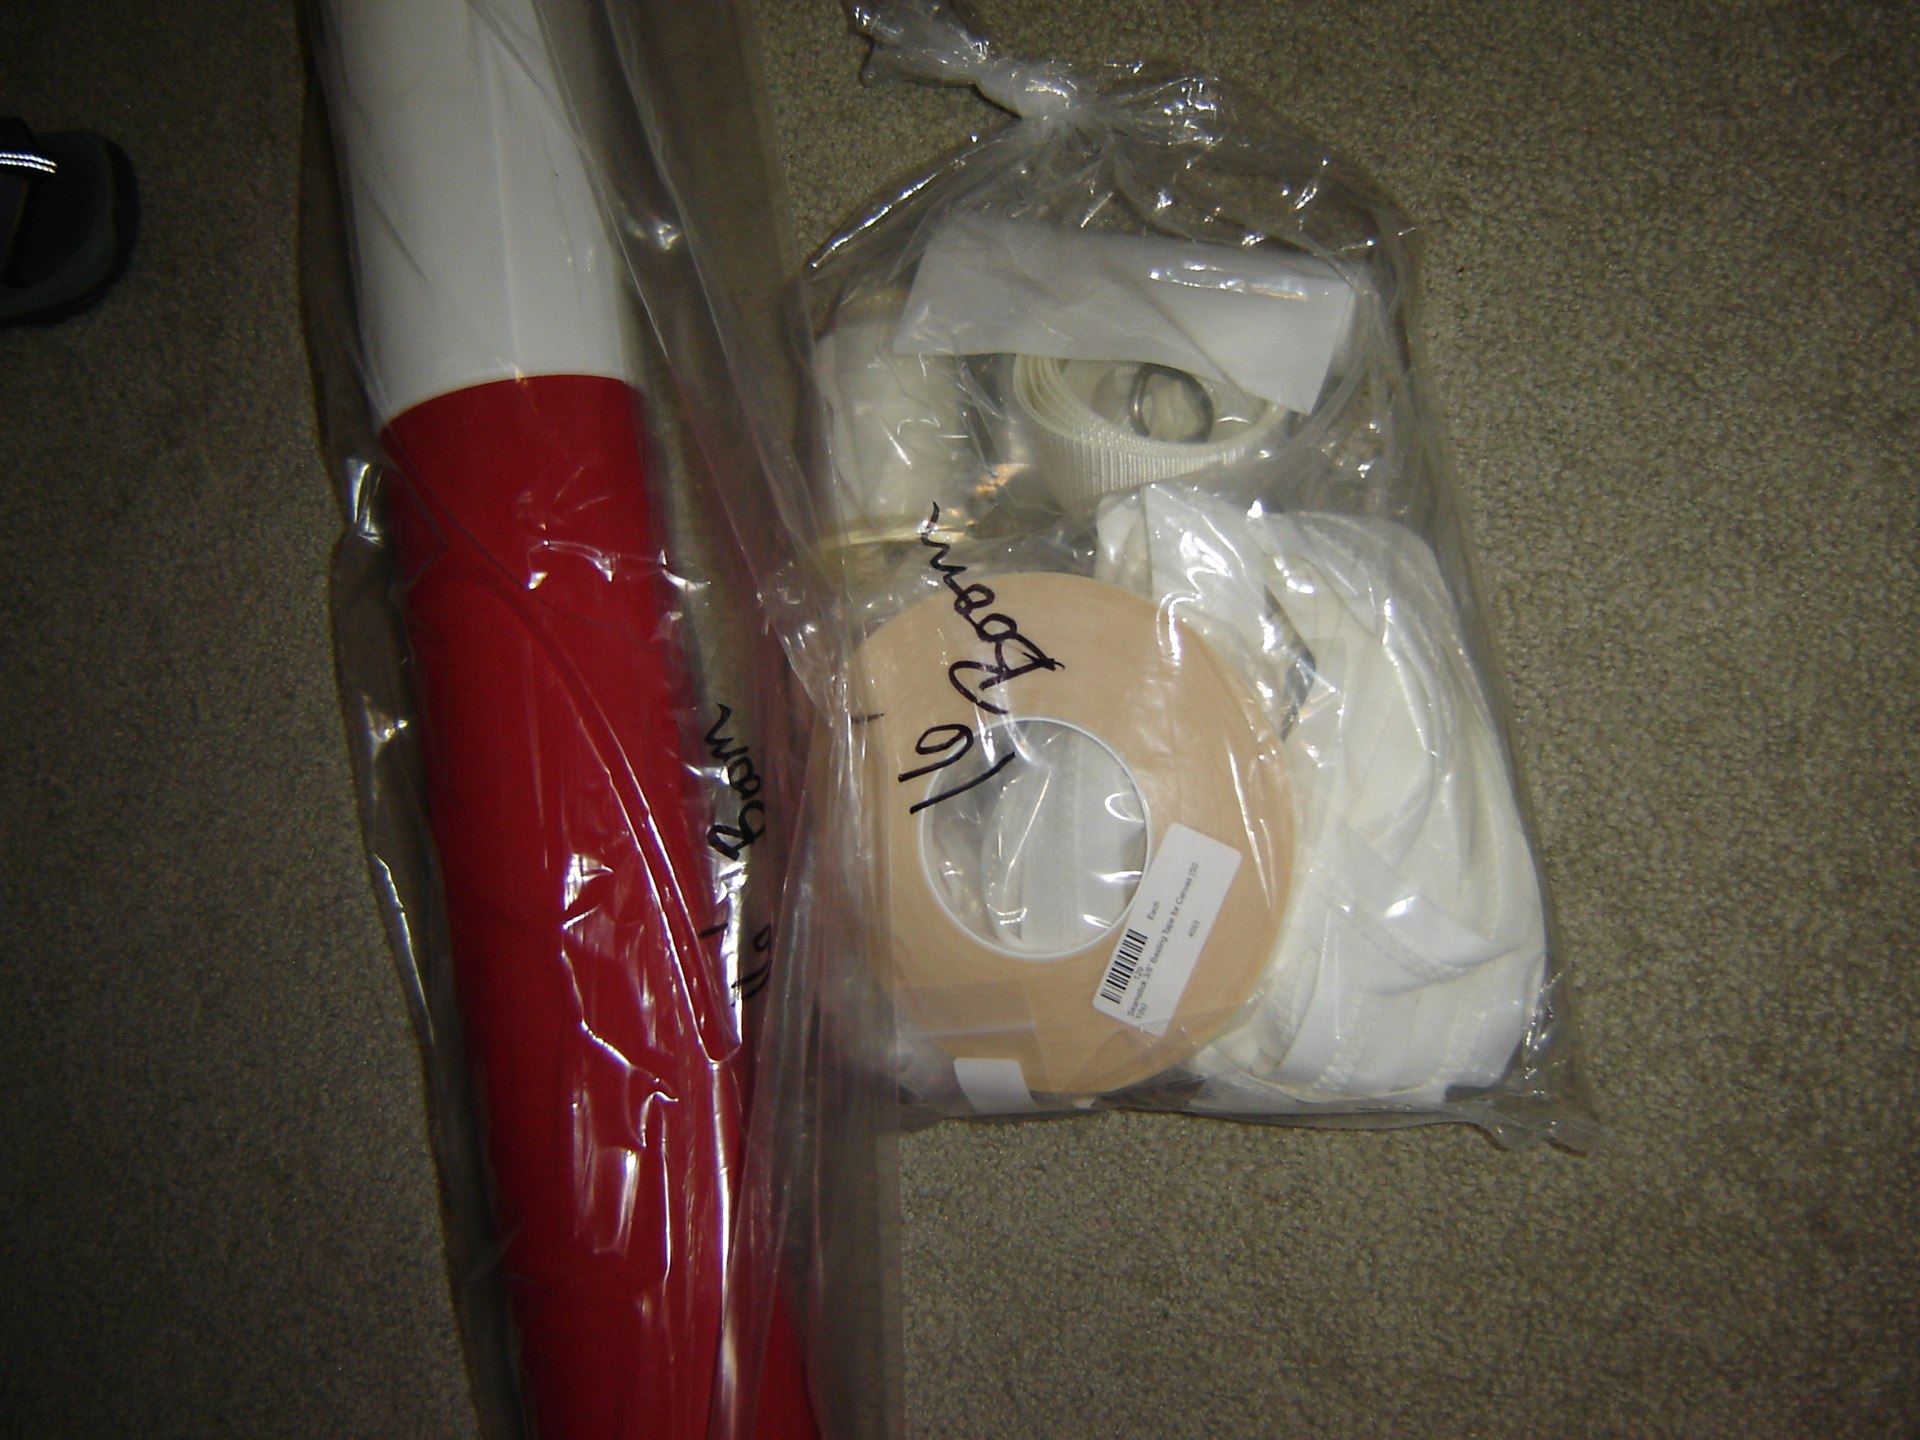
Sunday, we loaded the truck with stuff, ready to install the Sailrite Stack Pack cover on the mizzen. Two 10' pieces of 3/4" PVC pipe. Check. Stack Pack kit. Check. Tools. Check. Plan for managing the assembly process. Check.
The pipe is important for supporting the top of the Stack Pack. A 10' piece of pipe sticks 3' out the truck. The plan is important, also. However, neither the pipe nor the plan arrived intact. There were "problems."
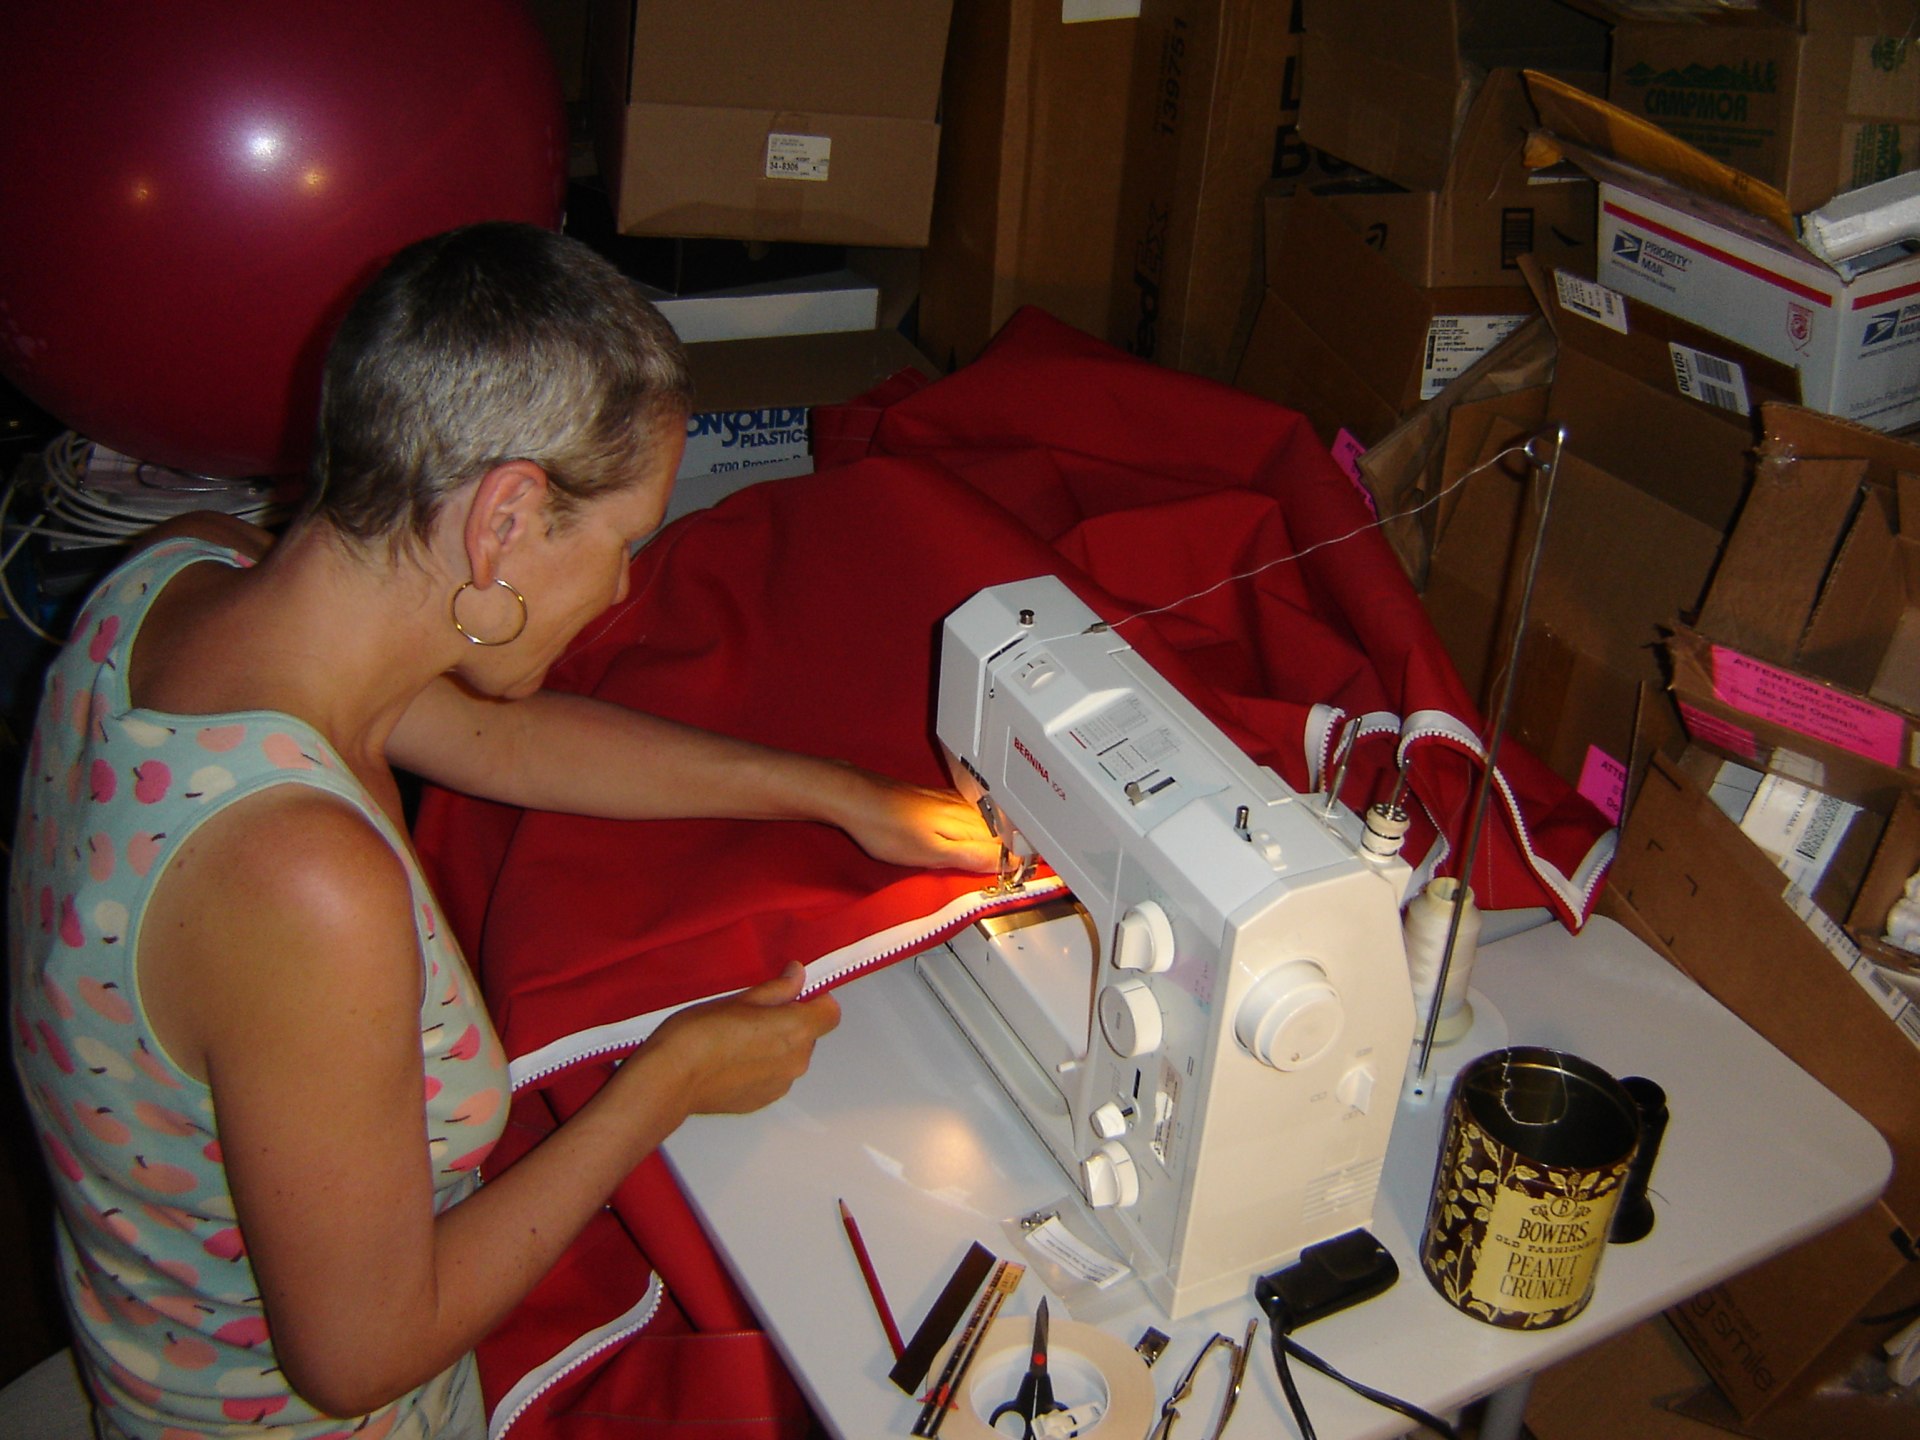
The Sailrite kit is a delight to work with. In addition to all the fabric and parts , you get a DVD (of generally good production value) showing a professional at the Sailrite factory making the kit. She's -- duh -- an absolute wizard at doing this. But, you see how it would work if you, too, had the same level of skill she has.
CA took it as a personal challenge, cranked up the old Bernina, and went to work.
One hard part, for apartment dwellers, is laying out the fabric to strike reasonably straight lines. Who's got 16 feet of floor space? A little real-world use of high-school algebra (assign this as homework, Randy!) and we worked out some intermediate points along the line.
[The Commodore's boat has a 12' mizzen boom. Her sail cover is 121" in circumference at the forward and and 12" of circumference at the aft end. Compute the circumference of her mizzen sail at the 3', 6' and 9' points along the boom. Assume the cover for flaked sail is linear forms a large right triangle on the boom. Bonus: compute the square footage of fabric required. Double Bonus: Sunbrella comes on 60" width bolts, how many yards of 60" fabric are required?]
I worried about the overall straightness of the line. Lots of little line segments accumulate error.
CA pointed out that it's a giant fabric bag with a zipper, subject to wind and weather. At the end of a 12' boom, a 1% error is _____". [Answer 1 7/16"; a lot of room for error.]
Working with Heavy Sunbrella Fabric
The Sunbrella fabrics dominate this industry: they're heavy weight, well-made, have a great deal of UV protection and water resistance. However, they are synthetics and tend to be slick. That means that they slide around in the sewing machine unless you're really careful or use double-sided tape to hold things together. A seam pressing bar helps, also.
In addition to the right tools, we need skills. An important skill is the ability to rip out a 12' long seam that's not right. If I had managed to get through 12' of zipper, I would have been high-fiving total strangers on Colley street. She, on the other hand, looked at the zipper critically and decided to rip the entire thing out and do it again.
It was as if the first time was just practice to see how it all fed through the Bernina. The second time was -- of course -- as perfect as the zipper shown on the DVD.
The Bernina (the purely mechanical kind, no electronics) is a helluva machine. It isn't up to multiple layers of Sunbrella with nylon webbing or Dacron inserts. The clutch wouldn't hold under the load. (We may have to replace the Bernina with a Sailrite LSZ-1 machine. "The Posi-Pin on the Sailrite Ultrafeed LSZ-1 sewing machine is a patented (#7438009) direct drive mechanism that results in 100% power transfer from the balance wheel to the machine's needle. This novel system is much better than the typical compression clutch which is prone to slippage in heavy materials". Sold.)
Final Assembly
After cutting and piecing, the final assembly on the boat involves a multi-step process. There are a number of fittings that can't easily be measured in advance. After all, it's two slippery 12' long triangles of fabric held together with zippers. [If the Commodore's sewing machine introduces a 2.5% error in a 12' sail cover, how much variability will there be in the location of the chafe patch for the reefing line?]
On the boom, we need to locate the position for the lazy jacks, the reefing line and the slugs.
Wait, what? Did you say "slugs"?
Our mizzen sail doesn't have slugs. Does. Not. Have. Slugs. Sigh. It has a bolt rope. In order to mount the Stack Pack, we need to modify the mizzen sail to add slugs below the bolt rope. Rebuilding a sail can be intimidating. I messed around with the sails on KaDiMa; I built most of the ditty-bag kit shown in the Sailmaker's Apprentice. (Sailrite sells a ditty-bag kit; I did mine the hard way -- with scraps.) I have reason for confidence.
While CA's perfectly happy sewing (and ripping and resewing) giant seams on huge pieces of slippery fabric, she's not so comfortable adding slugs to a sail. "How much force? How closely spaced? What if they rip?" Good questions, all. What's important is to note is that many sails are loose-footed: held in place at only tack and clew; with neither slugs nor bolt rope. Here's a good article on Loose-foot vs. Attached. ("the loose-footed approach can provide significant advantages from a maintenance and equipment handling standpoint") Adding slugs is a piece of cake. Sailrite sells a variety of slugs and shackles for this job.
So, before installing the StackPack, we need to first put shackles and slugs on the foot of the mizzen. We'll post some details on this separately.
And we also need to insert 12' sections of PVC pipe into the top of the StackPack. Remember the 10' pipe? The one that sticks 3' out of the bed of the truck? That pipe?
The Pipe's Gone. Gone? Gone.
The Sunday plan was this. 1. Rebuild the mizzen to add slugs. 2. Bend the new mizzen on. 3. Insert the PVC pipe and sew it in place. 4. Assemble the StackPack for final measurements. 5. Sew in the reefing chafe patches, tabs for the lazyjacks and panel that attaches it to the mizzen mast.
We got almost none of this done.
Problem 1. We arrived, went to the bathhouse to visit the potty and carried stuff to the boat. I thought she had the pipe. She thought I had the pipe. The pipe was gone. Gone.
Somehow, it snuck (sneaked?) out of the back of the truck without causing any vehicle behind us to sound the horn or slam on the brakes. How does that happen? How do two 10' sections of PVC leap out of the back of a truck without causing traffic disruption? [Bonus Question. How do you secure to 10', slippery pieces of PVC pipe in a truck with a 6 1/2' bed?]
Problem 2. We forgot to get the lunch from fridge to truck. Solution: run out for lunch.
"Problem" 3. Okay, this isn't really a problem. It's more of a joy or a delight. But it does interfere with the jobs at hand. But we had a stroll-by that basically prevented all progress. Solution: well... it isn't really a problem, is it?
Stroll-By Chatting
Part of the marina life-style is the stroll-by. You're working your tail off -- projectile sweating -- tools all over the place -- piles of fabric -- stuff everywhere -- and someone wants to chit-chat about your boat. What do you do?
Of course, you drop everything and chit-chat. It's not like we're being paid to work on the boat. We're not on the clock.
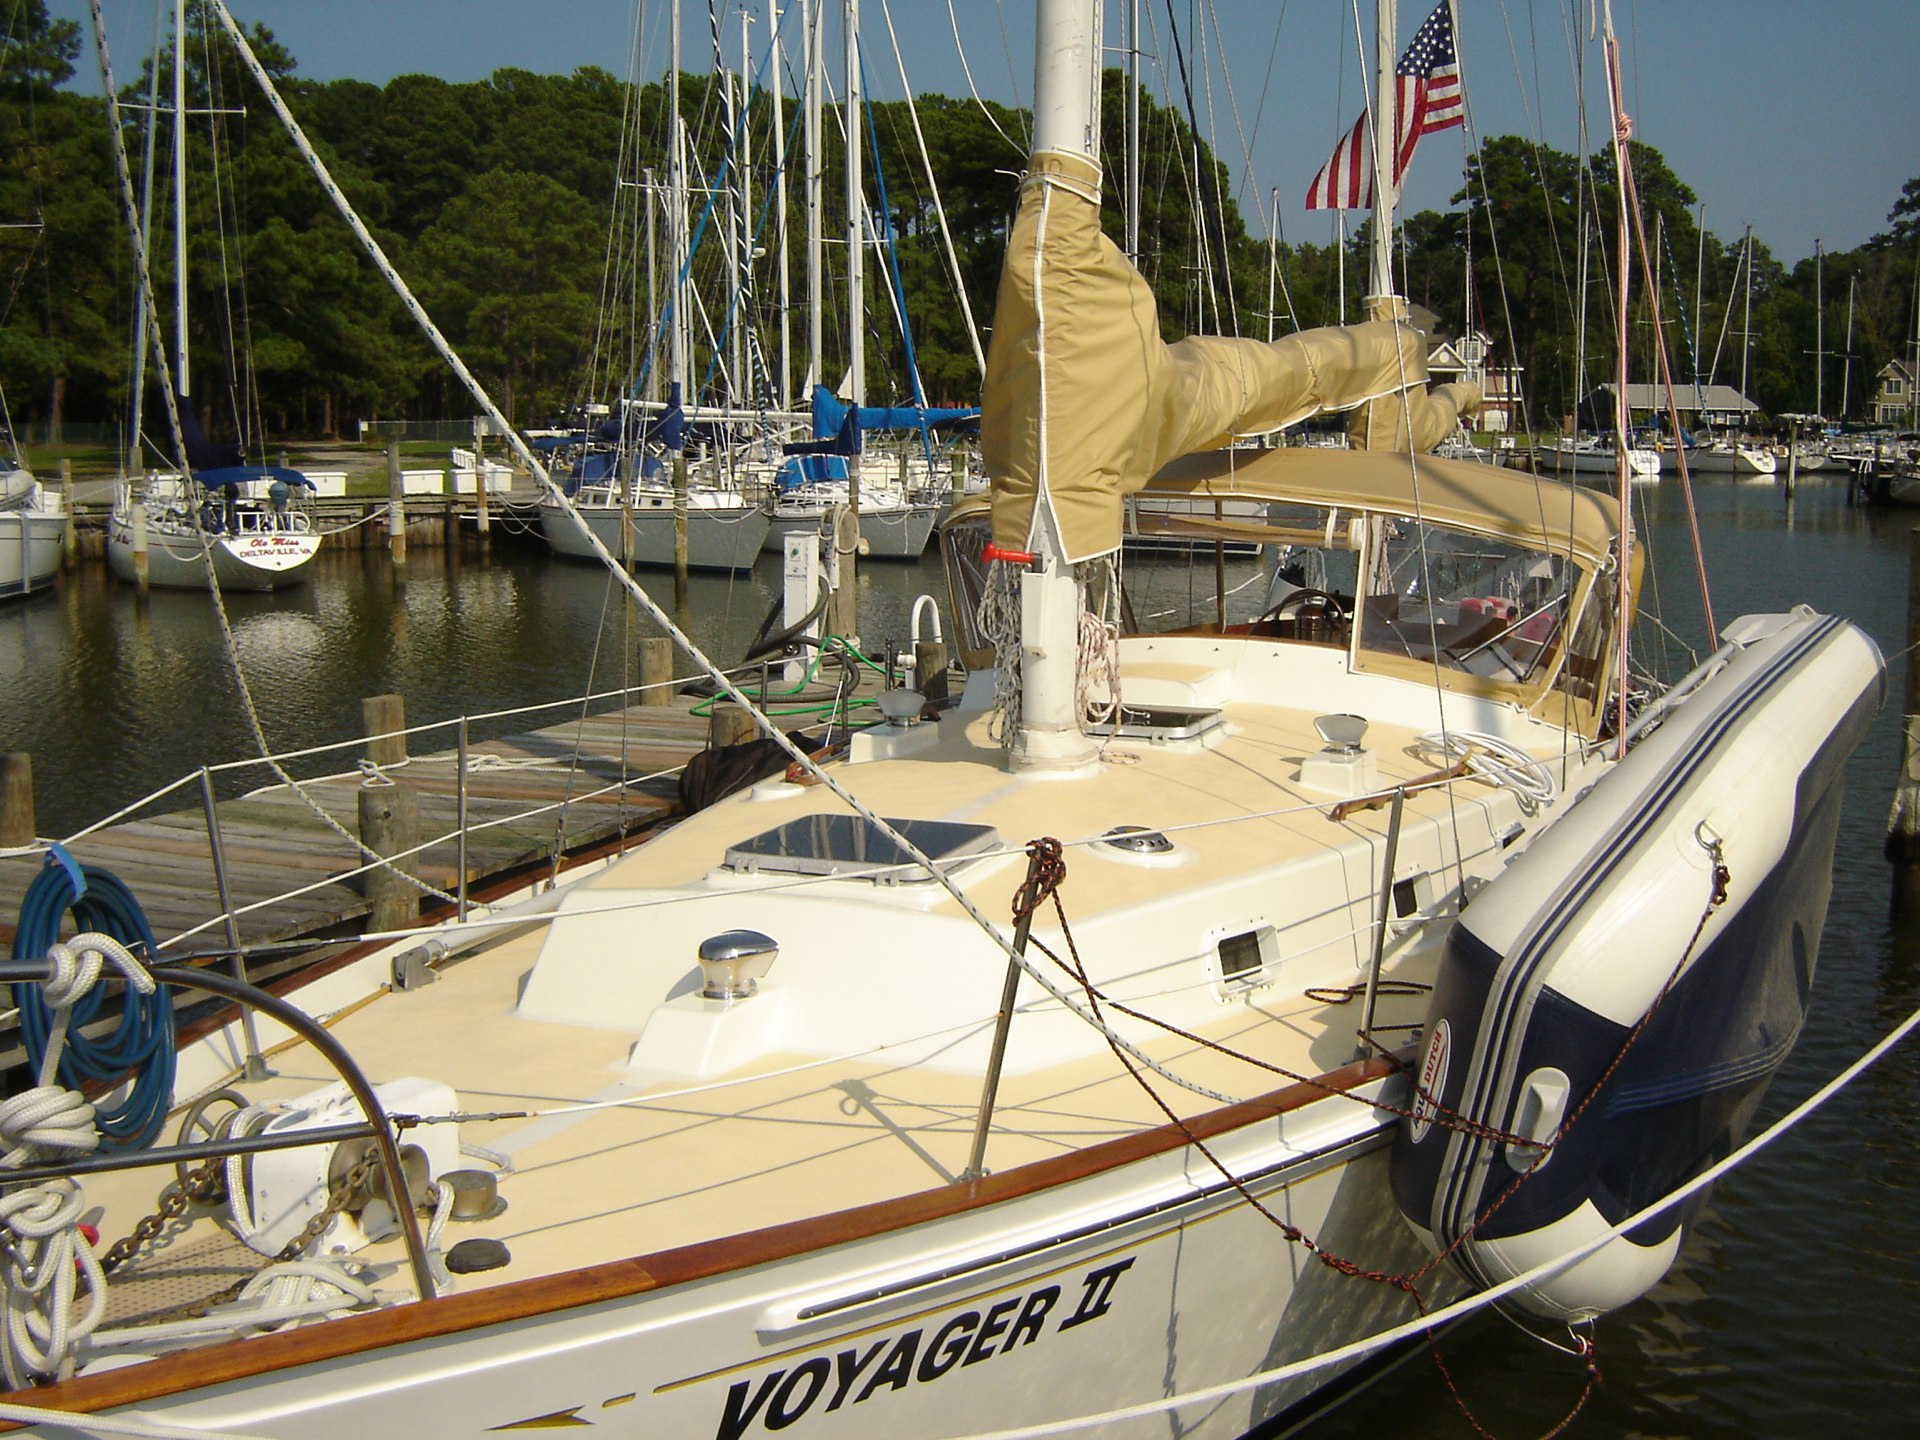
John and Alida -- it turns out -- have Voyager II berthed at Stingray Point Marina. They were visiting friends at Deltaville Marina and saw a familiar-looking boat. Red Ranger and Voyager II are variations on the Whitby 42 theme.
There are some differences, but it was a delight to compare their repair and refit with ours. We were particularly interested in seeing how they'd tackled the interior; specifically, ventilation, refrigeration and lighting. Voyager II is a single headsail ketch, Red Ranger is a double, so their foredeck and cockpit are simpler.
We never got to step 2 of the plan (bend on the mizzen). Instead of the plan, we drove down to Stingray Point and hung with John and Alida to learn what we could from Voyager II. Far, far more fun than bending on the mizzen.
And we have to solve the "vanished 10' pieces of pipe" problem.
Next Week
Next week -- maybe -- we'll get to step 2 of the plan: bend on the rebuilt mizzen. If only we had some PVC pipe, we could get to step 3 and sew the supporting pipe into the Stack Pack.
The pipe -- it turns out -- had slipped out of the truck on the bouncy road to the marina. It was -- amazingly -- laying at the side of the road waiting for us to pick it up and take it back to the boat. The ends of the pipe were chafed at a 45° angle, indicating some time spent dragging along the asphalt before finally dropping at the side of the road.
We had -- in despair -- imagined it dropping out anywhere along the 90-minute drive. CA was pretty sure she'd checked it when we stopped for gas. But... maybe she didn't... you know how self-doubt is. Unless you talked about it and took pictures and posted the pictures on Facebook -- did you really check it? Turns out, she did.
Status Report. We have slugs. We have pipe. We have the stack pack. We have new Whitby 42 friends to ask for advice. We're golden.