

The Commodore Asks "How can we monitor our holding tank?"
Red Ranger has a fair amount of tankage.
-
Two 90 gal. water tanks (and a third water tank that leaks)
-
One 70 gal. fuel tank (and a second fuel tank that may leak)
-
One 40 gal. holding tank
-
Two propane tanks (20 lb. and 10 lb.)
Currently, we have a monitor on the holding tank. It has a single, lonely red light that tells us that the tank is full. There's no real warning that the tank is nearly full. And that can create a logistical nightmare scrambling around for surprise last-minute pump-out.
We've purchased an 8-channel Profile tank monitor from Ferriello Sales, LLC. Now, we need to connect up the various sensors.
Failure Mode
The instructions for the PVC insert tank monitors are clear. Cut a 1" hole. Tap for 1" NPT pipe threads. Insert monitor using a little Teflon tape to assure a leak-proof fit
It's not easy to cut NPT pipe threads into a block of aluminum plate. (All you skilled plumbers or machinists will say it's easy.) I tried and wound up with threads at a pretty bad angle.
Worse than a bad angle, I didn't properly line up the baffles inside the tank. My sensor ran straight into a baffle.
Still worse than that, I had (for no good reason at all) been "reusing" the inspection port on the tank. Why did I think that a sensor made an inspection port unnecessary? No clue.
Cutting Alternatives
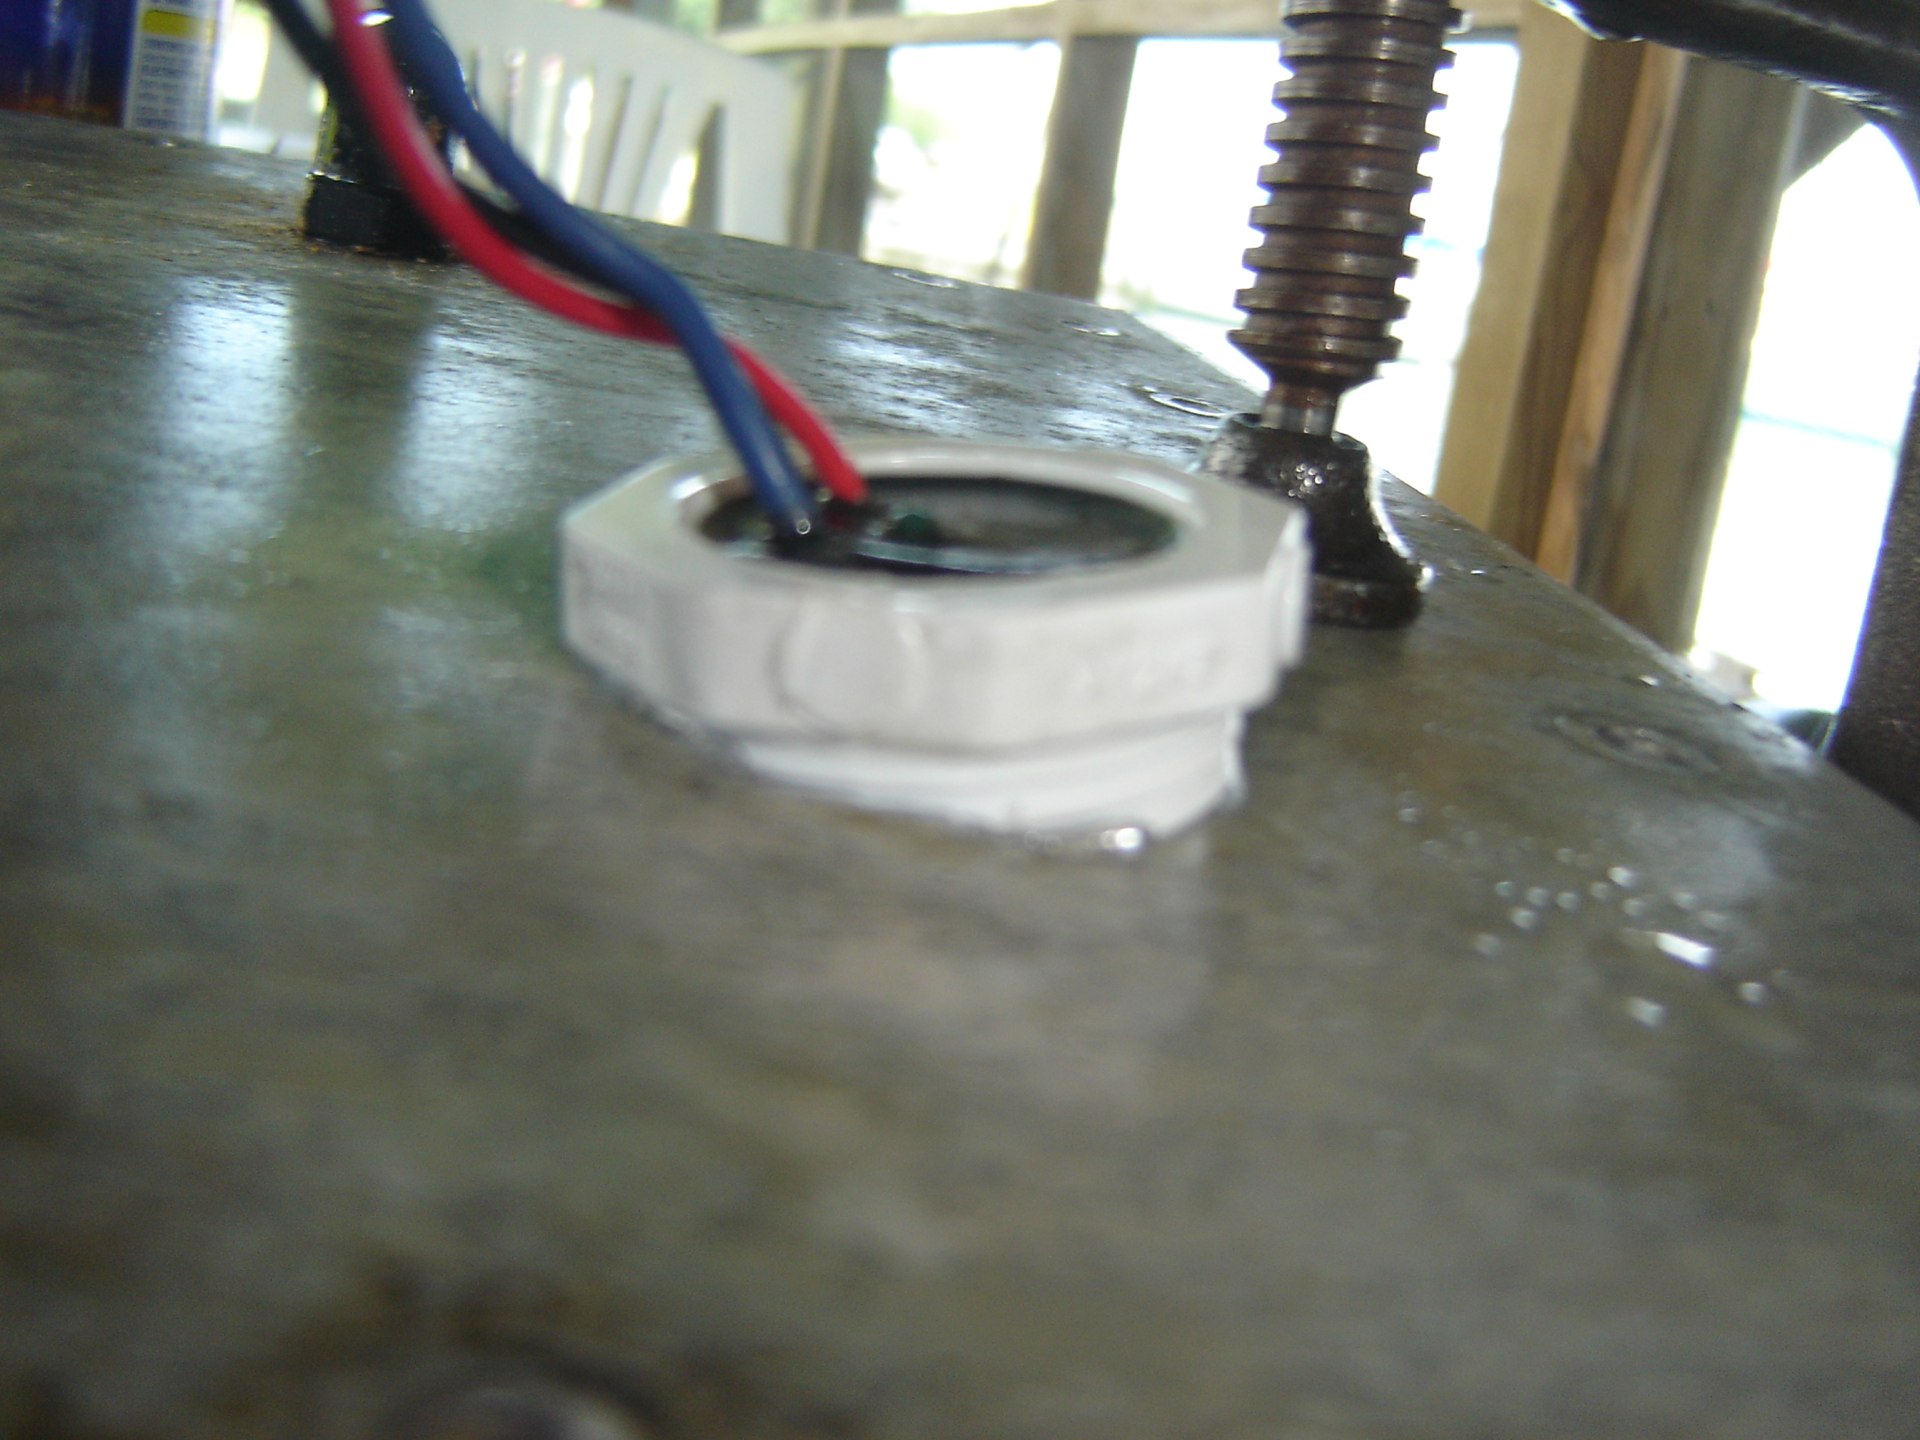
An alternative appears to be a bushing threaded up from the inside of the tank. Much simpler to install.

Cut a 1 ¼" hole in the inspection port. Drop the sensor in. Thread a 1" bushing over the sensor from the inside of the tank. This works beautifully and avoids any need to cut 1" NPT pipe threads.
I screwed a nice, new nylon bushing into my ridiculously bad 1" hole. And I put a plug into the bushing. This recreates an inspection port that's approximately like the original.
Except for being at a goofy-looking angle.
Other Cuts
I was so excited by the success of putting the sensors in the tanks, that I forgot to take pictures of the new Profile sensor in the galley. It was (relatively) simple to drill two corner holes and use a jig saw to cut the 5"×3" hole and fit the panel in. Four screws to hold things in place and we're ready for the final installation.
Status Report
Where are we and where are we going?
We have two PVC in-the-tank sensors installed using the "bushing inside the tank" technique.
We have the foil strips on the holding tank.
We have the Profile 8-tank monitor control panel installed in the galley.
What's left? Several hours of work are required for final installation.
-
Wire. Lots of it. It's about a 12' run from each water tank to the control panel. It's a 6' run from the holding tank to the control panel. I'd also like to hook up the diesel tank sensors. That's another (perhaps) 20'. This is a lot of crimping on various kinds of terminals and installing cable ties in inaccessible places.
-
Calibration. We could empty and fill both water tanks to set the levels. A much smarter approach from Indefatigable is to use a 6-gallon drywall bucket. Take the inspection plate (with sensor) off the tank and set it in a deep-enough bucket. Splash in some water to cover the bottom cap on the sensor. Set the "empty" level. Fill the bucket to the top. Set the "full" level. Put the plate (and sensor) back on the holding tank. [This also means leaving enough wire for calibration on each sensor.]
-
More Calibration. We need to pump out the holding tank to set "empty". That's easy. We then need to carefully pour in about 40 gallons of water to set the "full". Shining a bright light through the holding tank makes this possible. Then we need to pump it out again. This, too, is an hour or so parked at the pump-out station. Bonus: we get to rinse our holding tank.
We're looking forward to having reasonably accurate tank monitoring. Fewer surprises. No more playing the "Why is that pump running?" guessing game.
