Ordinarily, one doesn't care much about this. Until, of course, the current cut of the sail becomes a problem. Then we have to modify things. It's not a big job, and I took a few pictures to show how it works.
Also, we made a few mistakes, which helped is learn some important lessons.
Background
There appear to be two primary ways to attach ("bend") sails to the boom: at the corners or along the edge with a bolt rope, slides or slugs.
A sail bent on at the corners is traditional. Nowadays we call it "loose footed" to distinguish it from the bolt rope, slides or slugs solution. A loose-footed sail is reliable, well-proven, but not the modern standard.
Sails bent on along the edges are more modern. There are essentially three variations on the theme. A bolt-rope is sewn to the edge of the fabric and fed through a carefully made slot in the boom. Or, slugs are shackled to the edge of the fabric and fed through the carefully made slot. The third is to use slides which wrap around a rail; the rail is screwed onto the top of the boom.
Slides or slugs are lower friction than a bolt-rope. Our mainsail is huge (about 350 sq. ft.) and is bent on with slides. Our mizzen is about half the size (about 130 sq. ft.) and was built with a bolt rope.
Bolt ropes are fine. Until.
The Sail Covers
There are a variety of ways to cover a sail. Subtleties arise when one starts to consider things like lazyjack systems. There is a lot of advice.
Sail Rite Stack Pack sail covers seem optimal. And they come in a handy, money-saving kit.
However, they expect a loose-footed sail or a sail bent on with slugs.
So, we're going to modify our mizzen to have slugs below the bolt rope.
Planning
The mizzen is about 12' long. Sailrite suggests that slugs be spaced every 18" or so. That part of the math is easy. We preferred evenly spaced and opted for a little more closely spaced. So we'll go for 8 slugs to divide up the space in sections less than 18".
The slot in the top of the boom is -- frankly -- huge. It is about 1" deep, maybe 5/8" in diameter at the widest spot and narrows to a 3/16" slot at top. The existing bolt rope appears to be about 5/16" in diameter. Which tells me that a slug that's anywhere from 5/17" to 5/8" won't pull out of the slot in the boom.
We purchased 8 nylon screw-in shackles and a matching set of 5/16" slugs. Additionally, we purchased a large "outhaul" slug to go at the clew -- the very end of the mizzen.
Sailrite suggests using spur grommets around each shackle. I already had some plain grommets. Since the primary load of the sail is carried at the corners (tack and clew) the grommets aren't carrying a huge load. We figure we can cut a corner and use plain grommets. Only time will tell if this was a good idea or not.
Execution
-
Measure. Of course.
-
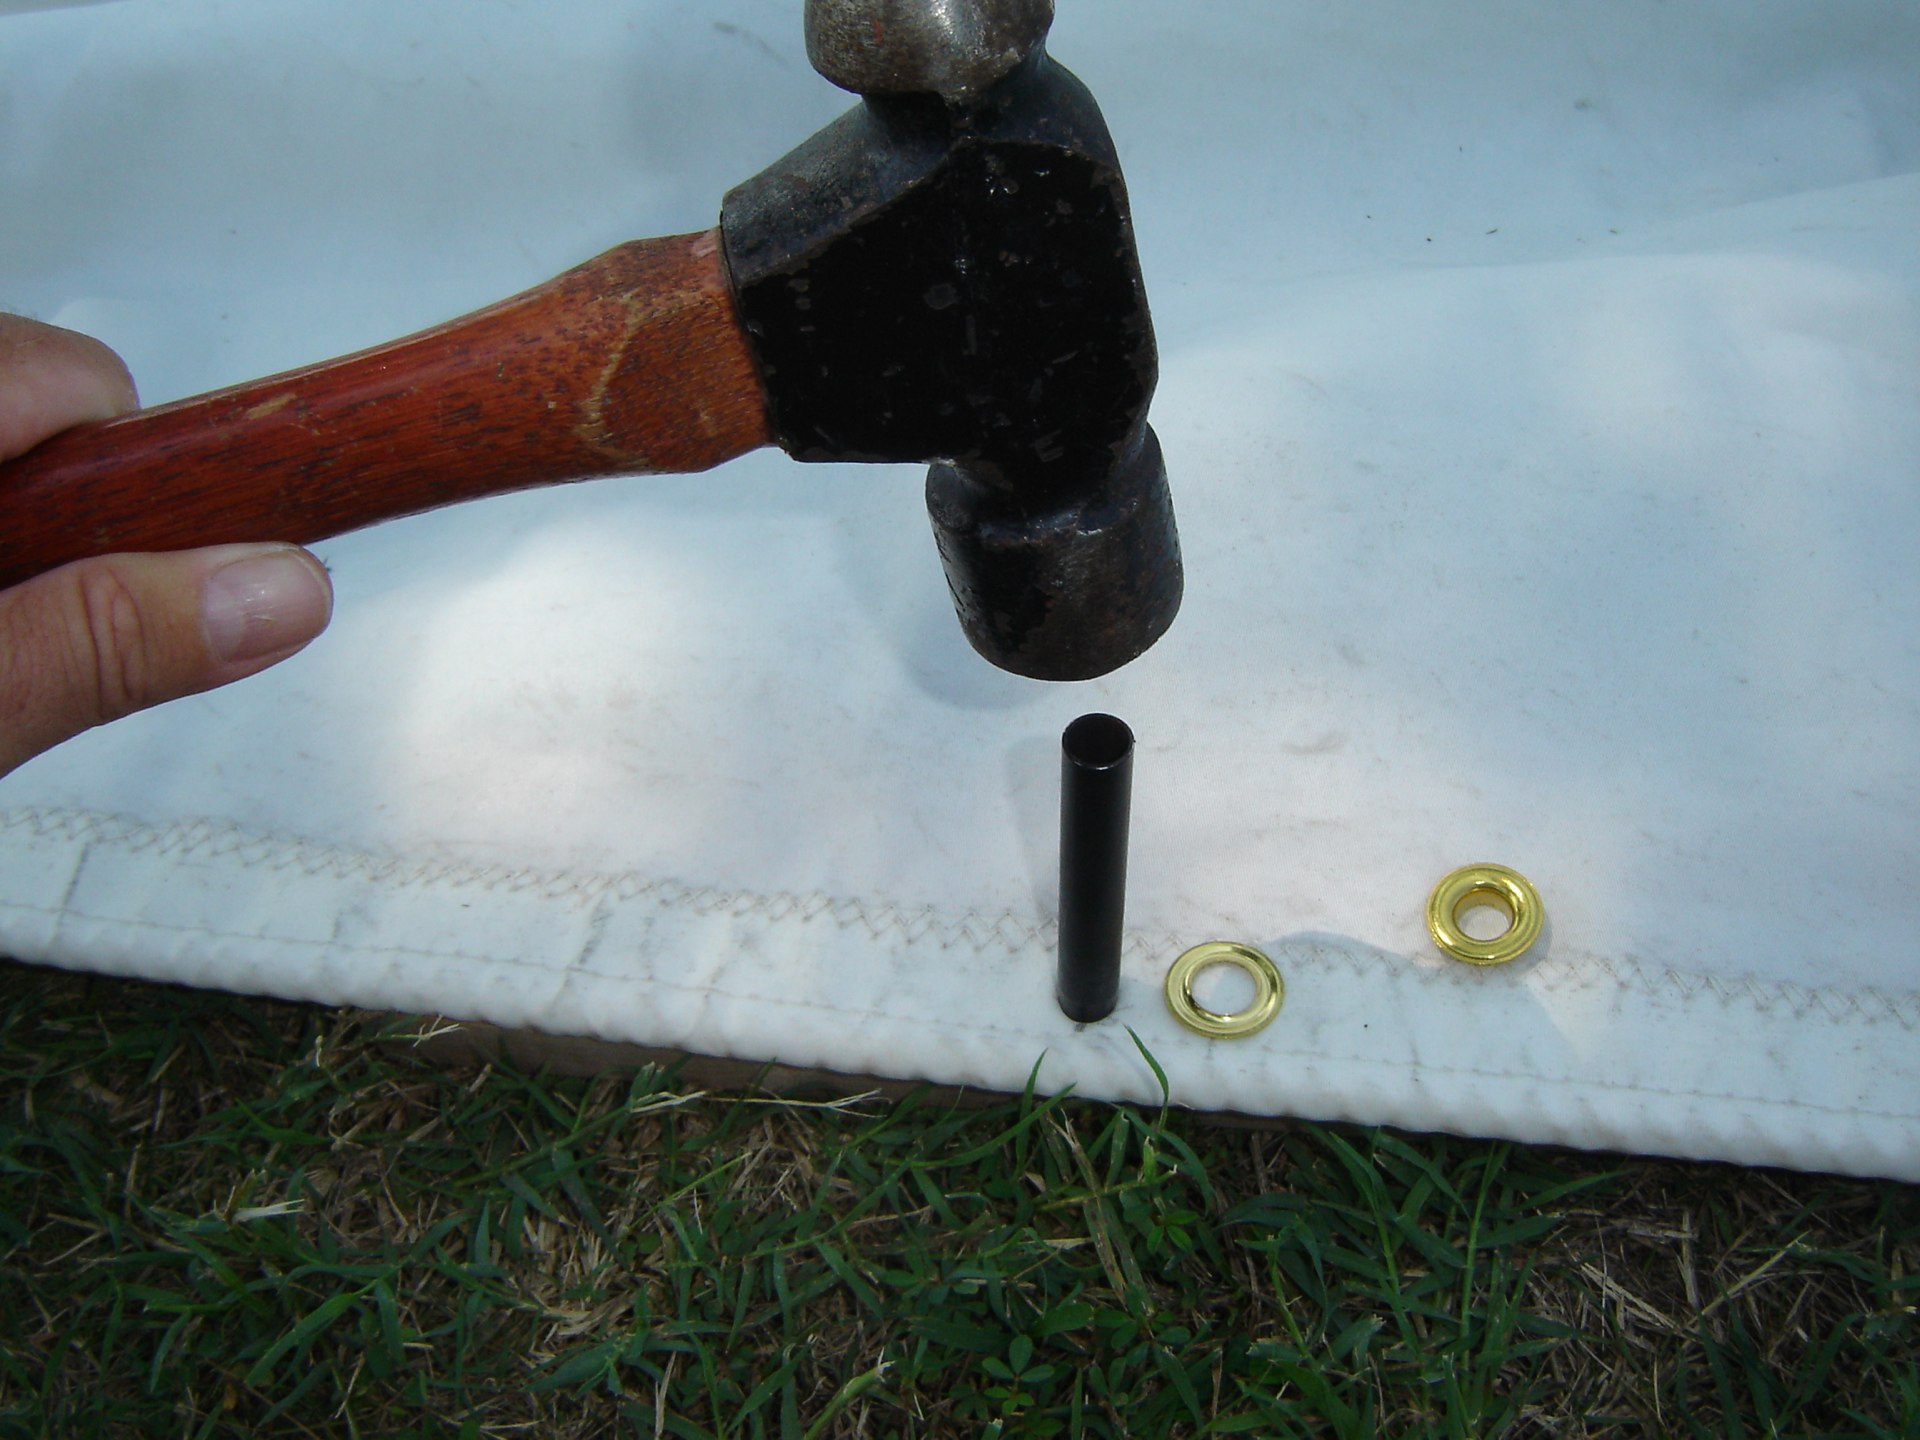
Punch a hole for the grommet.
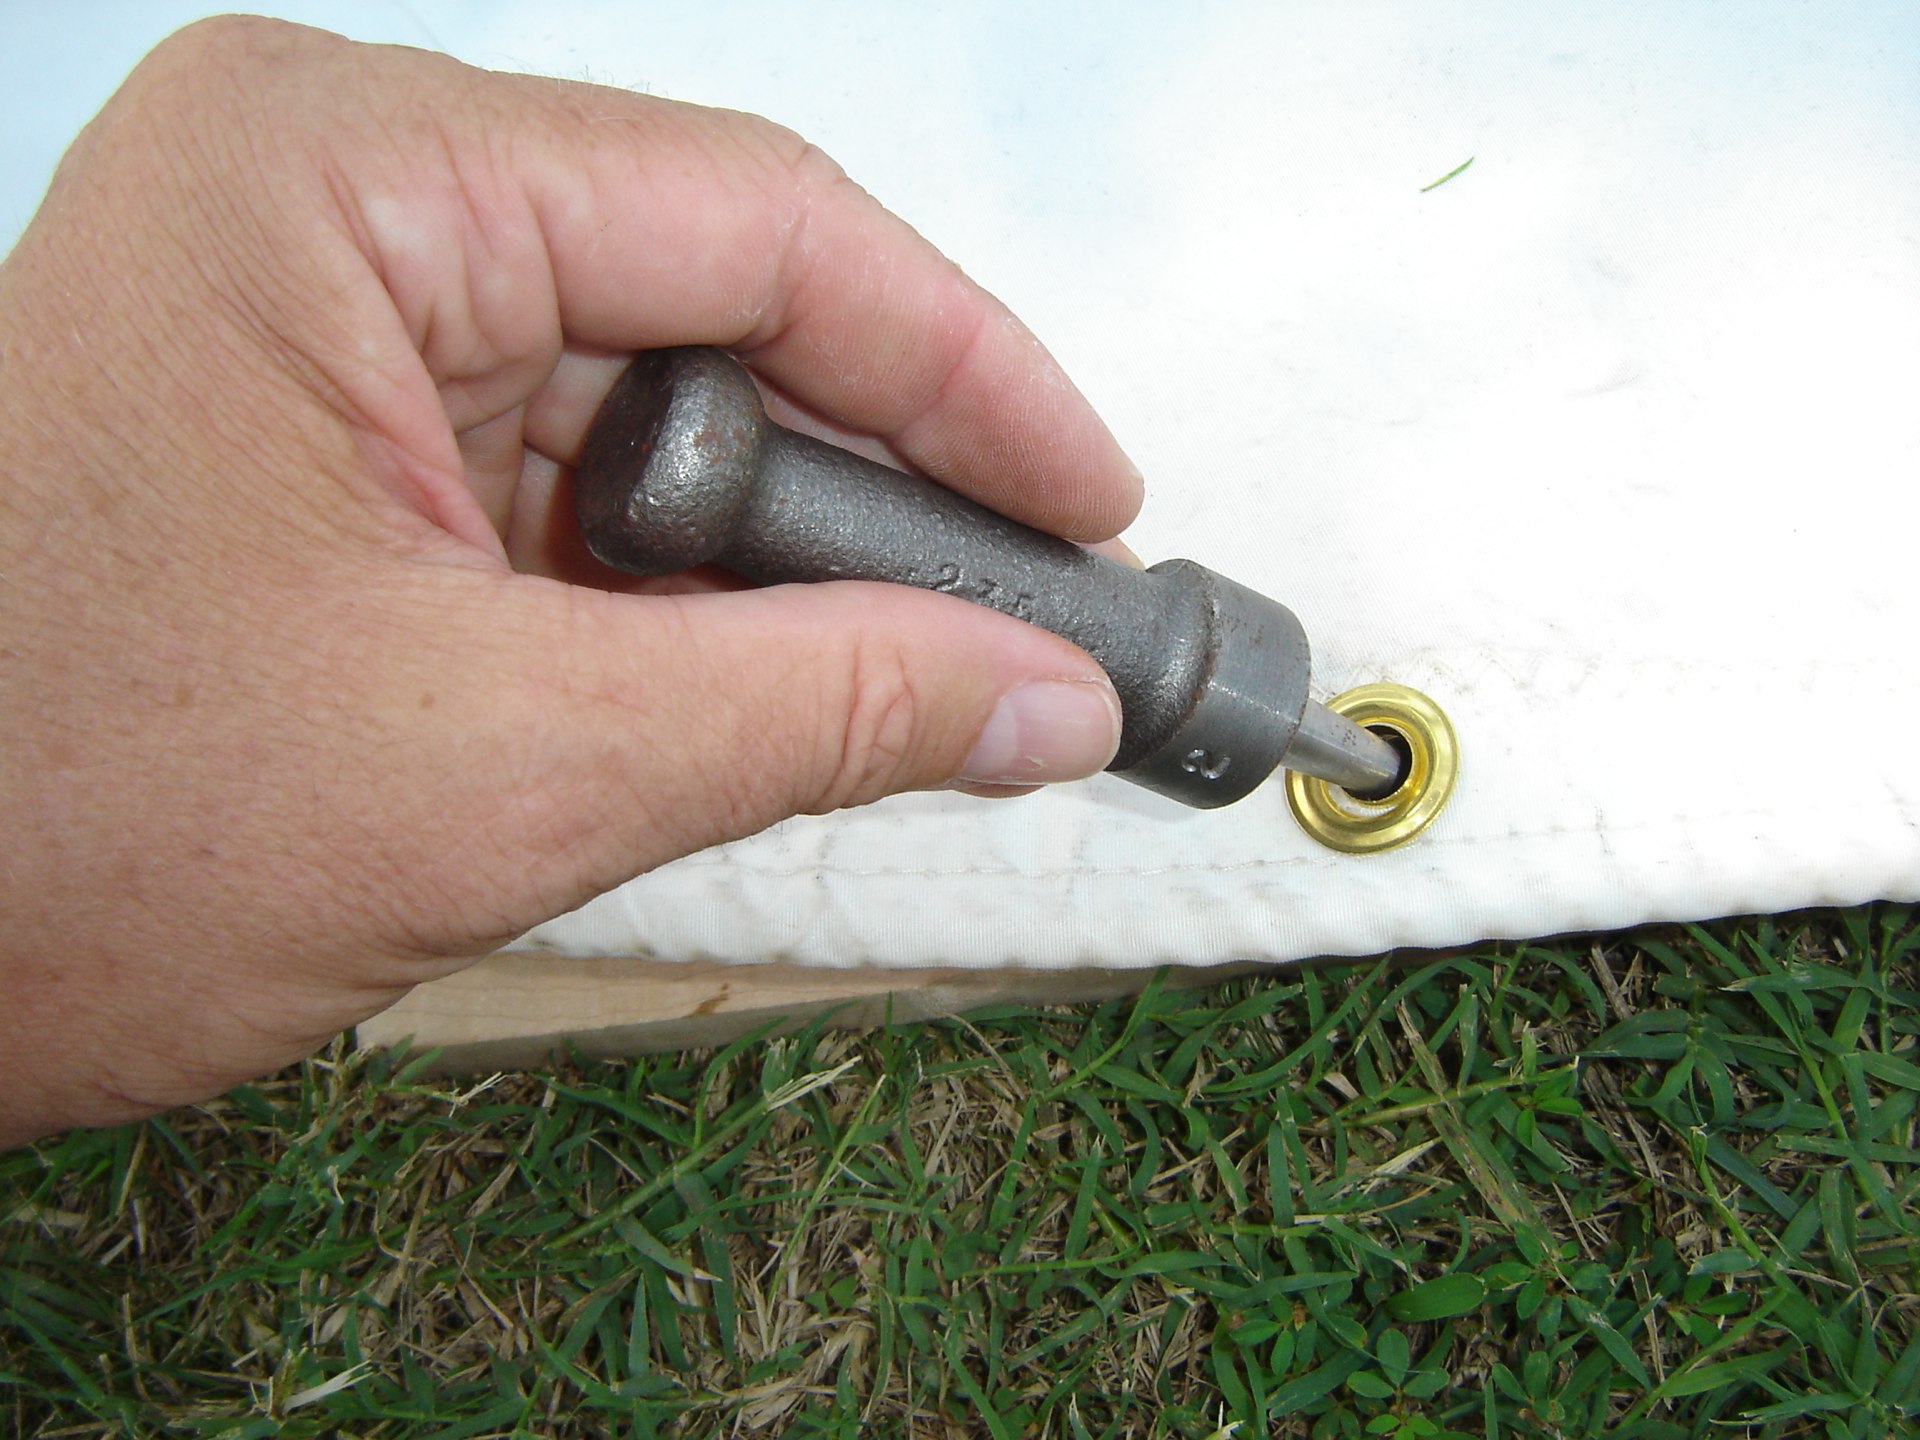
-
Peen over the grommet.
-
Assemble the Shackle and Slug.
At the outhaul ("clew") we used the extra-big shackle and some nylon webbing. This provides a hefty attachment where the real force is concentrated.
Now that we've modified the mizzen, we'll need to bend it on to be sure she hangs properly. We might need to adjust the shackle at the tack end of the sail. We doubt it, however, since there was always a small wrinkle there. Raising the rest of the foot 7/8" is like using a Cunningham hook on the sail.
We can also attach a sail cover, which was the whole point of this exercise.
Elapsed time for this was only an hour or two.
Mistakes Were Made
The big mistake that we made was starting out with the wrong size grommet. Without "dry fitting" carefully, I punched a hole, peened over the first grommet and couldn't get the shackle to fit properly.
CA looked up "removing grommets" online and saw that you remove them by first spreading the edges apart with a chisel or some other sturdy tool that comes to a point. Then you use a pair of needle-nose pliers to wad the grommet into a smallish piece that fits through the original hole.
The process of removing the first grommet showed how well plain grommets are attached. This gave us some reason to believe that plain grommets might work instead of spur grommets.