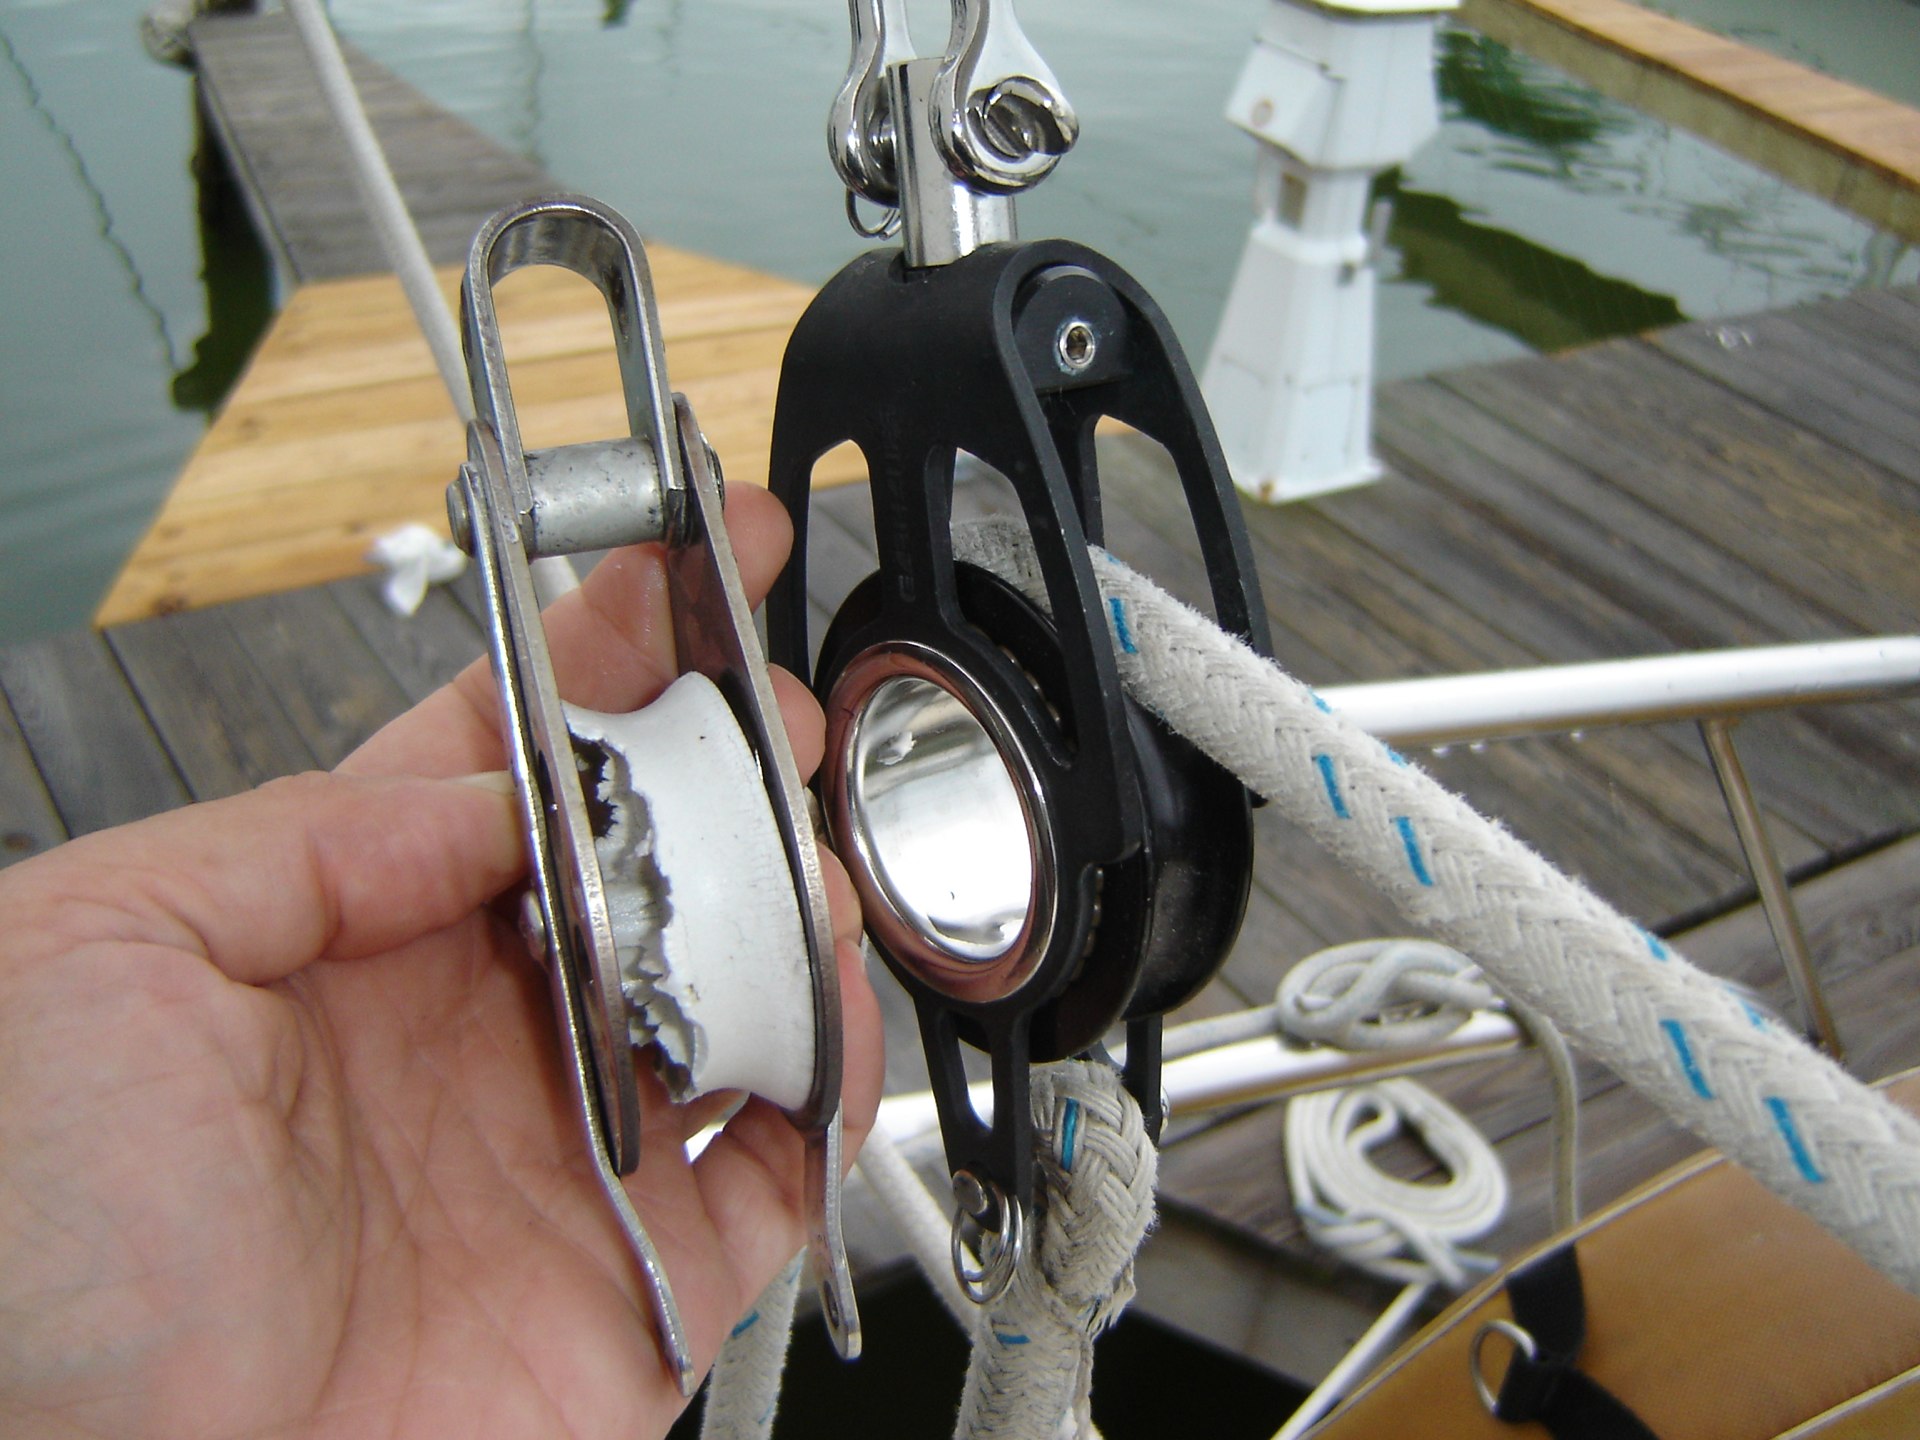
Minor: Replaced the old Merriman blocks on the mizzen with nice, new Garhauer blocks. They have so little friction that I think I need to add some friction via a ratchet block or cam cleats.
Major: A bunch of Whitby folks had a clinic in diesel engine maintenance. Akula III, Indefatigable, Mariam, Dream Ketcher, Joie de Vivre, Red Ranger, Windreka III, Creola, Sinbad and Windsong.
We talked about trouble-shooting. Tools (including a "check nut" wrench and a "flare nut" wrench). Supplies (Fram C1191A filters, for example).
Internals. Trouble-shooting. Hot-wiring.
Tips from the masters.
-
Want to keep a nut from dropping into the bilge? Use a little wad of paper towel in a socket wrench to keep control of the nut (or cap screw). It works particularly well for blind fittings.
-
Want to remove a heavy attachment (like your starter motor)? Remove the top-most cap nut; thread a stud into the hole; remove the other two cap nuts. The motor will be hanging on the stud; it can now be wrestled free without also trying to manage a wrench (and trying to avoid dropping a critical cap screw into the bilge).
We got much sage advice on separation of concerns. A diesel engine runs on Fuel, Air and Compression (and little else). If Mr. Lehman struggles it's unlikely to be air: what's left are fuel issues (air or restricted flow) and compression issues (rings, gaskets, injectors, valves, timing, etc.) Start with fuel and work your way to engine internals.
Run Hot
Perhaps the most important thing is learning that an engine is designed to operate with 180° cooling water and 80° incoming air. At lower temperatures, the parts haven't expanded to their full operating size: combustion is incomplete, the engine smokes. Maximum torque is developed somewhere around 2200 RPM. Sadly, our boat's propellor size and transmission means that we tend to potter about at low (1600) RPM's with a fairly low workload. The master says: (1) warm it up quickly at 1100 RPM; (2) periodically run it full out at maximum RPM's to get into the design envelope for operating temperatures; (3) avoid idling until it's warmed up.
We saw how the cold start ("Excess Fuel Device") works. First, open the throttle all the way. Second, push the little button. Third, start ‘er up. This sets "max possible throttle" for the first few cycles and gets the essential compression and fuel/air combustion going with a bang (and a cloud of black smoke.)
As a group, we broke an engine down by removing the fuel injector pump, valves, return rail, and injectors themselves. We learned how it can help to remove a few extra things to makes one's life simpler. We reinstalled all the parts, reset the torque on the head, and reset the clearances on the valves using feeler gauges. We learned how to "bar the engine" and how to remove and replace the raw water pump.
Of course, a classroom setting makes all of this much easier than doing the same set of jobs in the Whitby's cramped engine room. The exam was simple: after removing and replacing numerous critical components, the demonstration engine started and ran nicely.
Also important is seeing our engine from the port side as well as the stern. The normal Whitby installation makes the port side hard to see and the stern (with the transmission) nearly inaccessible. Being able to study what's back there was very helpful.