A chartplotter is insanely sophisticated. Installation of this high-powered computing device was shocking. Shocking. I had studied my wiring carefully to try and figure out exactly how to replace the old -- simple -- Garmins with this new, complex chartplotter.
The Standard Horizon CP300i has a complete GPS system (itself very complex) with a WAAS receiver (also very complex). It has bright, color display and does a mountain of computation. While computers are common, we have to respect their boggling complexity. Further, the chartplotter accepts C-Map charts which are based on NOAA cartography plus a lot of value-added information about marinas and services. This is an amazing (and complex) resource.
Have I mentioned that this is complex?
Further, there's a really cool communications requirement — AIS — that all commercial ships are supposed to maintain and monitor. A radio (i.e., the Standard Horizon Matrix GX2100) can receive the AIS messages and passes them to the chartplotter for display. So, we have VHF radio (not that complex, really) sending and receiving digital signals (okay, that ramps up the complexity). The radio must get GPS position reports from the chartplotter as well as provide ship locations to the chartplotter.
Has your head started spinning yet? Wait until we try to hook up the computer.
Installation Woes
The installation of something this complex must involve a lot of careful planning. Right? Apparently not. Since the CP300i has an internal antenna, it appears to require very few things.
-
12V DC power. 2 Ampere's worth. Our old anchor light drew about this much power. (The new OGM light draws about .2 A).
-
Ground.
-
A Bracket.
That appears to be it. Seriously.
Working up from the bottom of the list, we started with the Bracket. Red Ranger had a hideous, old bracket with a Garmin socket. It's solidly mounted on the port side of the binnacle. Solidly mounted.
The Garmin socket -- and wiring weren't all that hard to remove. Three screws to get the Garmin thing off and we had a perfectly good bracket left over. Nice.
The bracket has 7 or maybe 8 individual wingnuts for adjusting every little articulation of the various joints. It has too much useless flexibility. But the Standard Horizon Chartplotter is -- amazingly -- only a pound or two.
The bracket has a plate with slots. A little examination revealed that the screws in the Standard Horizon mounting base would perfectly align with slots on the base. No drilling -- no new holes. Wow! Total Victory. No Effort.
Power and Ground
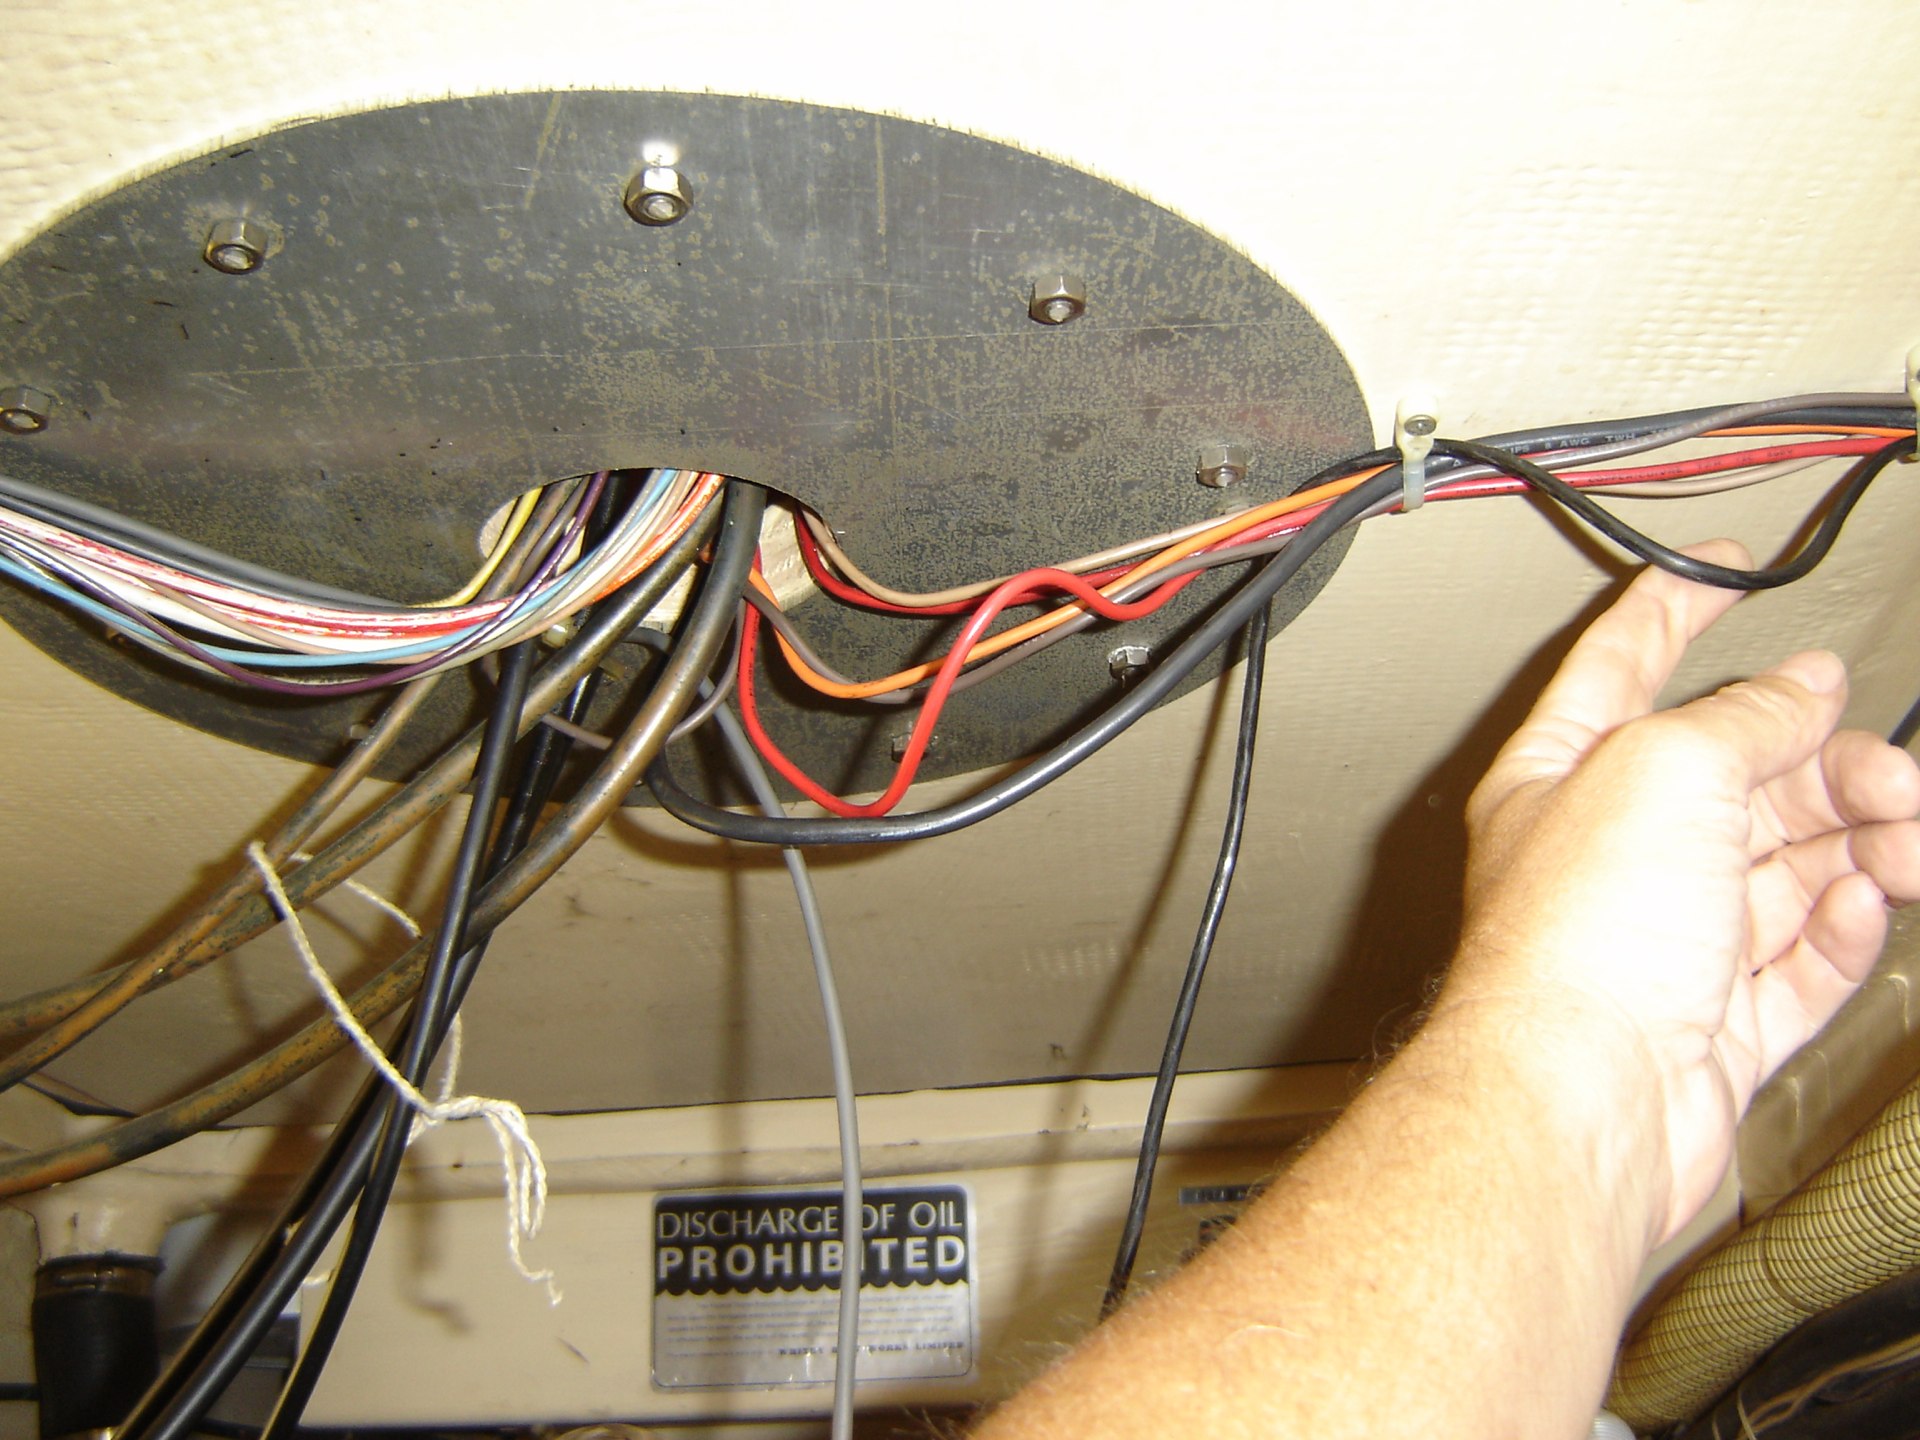
The power and ground connections were a little more challenging. There were two GPS sockets (one on the binnacle, one at the nav station) plus there was a SeaChoice watertight deck connector on deck for a third GPS location. So there are wires running everywhere.
[The previous owner had a cool sun-shade for using a laptop on deck as a chartplotter. A clever idea in 1996. Not so much in 2010. The old computer can't do half of what the CP300i does, and the CP300i is waterproof, visible in full daylight, and uses almost much less power.]
I was afraid that the hard part would locating -- and removing -- the two useless wire runs and replacing them with one proper wiring run from binnacle to nav station. I was planning on a rather complex hour or two of jiggling wires to try and guess which was which.
What really happened was quite nice. As part of removing the old Garmin socket, it became clear that it was connected to the autopilot power and ground lines in the binnacle. Simple. Easy to disconnect. And once cut, the remaining wire run could be pushed down into the engine room.
In the engine room, the wiring run was easy to follow. The old run from binnacle to deck was easy to pull out and remove. [The old Seachoice connector is still on deck plugging the hole. It can't be reused, and I can't think what to replace it with.]
Adding power to the existing distribution bus was also easy. There is an official "instruments" circuit. That seemed better to use this than the autopilot circuit. Mostly because I couldn't find the autopilot circuit. It has to be in there somewhere, but it's not one of the neatly-labeled circuits going through the bus bar on the engine-room bulkhead.
Final Steps
Actually, there were no final steps. Once the power (and fuse) and ground were connected, I hit the breaker. I heard a "chirp-chirp" in the cockpit.
It appears that the Standard Horizon is built so that the on-off switch is secretly "on". As soon as power is connected it starts searching for satellites. After a few minutes (less than 10) it was running normally. Ready for action.
I plugged in my C-Map Card (NA-M022) and we were clearly anchored in Jackson Creek. Wow!
The Commodore asked if we should bring it back home to play around with and learn the various controls. Hardly. First, we don't have ready access to 12V DC in the apartment. Second -- and more important -- it's quite easy to use.
The Future
There are bunch of plans.
-
A GX2100 radio, and GPS integration. This requires pulling a bunch of signal wires from binnacle to nav station. And chucking our existing radios. This has to wait a few months until we build up some bank.
-
A spare connection at the nav station. This allows me to use the CP300i indoors for planning purposes. The GPS signal is bad, so it can't easily be used for navigation without an external antenna. Minimally, this spare is 12V DC and ground from the instruments circuit.
-
A USB-NMEA 0183 connection so we can do planning on the computer and download routes and waypoints to the chartplotter; as well as upload track histories to the computer. This is part of the radio integration.
-
Another connection at the nav station for the -- eventual -- autopilot replacement. This also piggy-backs on the radio wiring.
This will require some pretty fancy interconnection. But -- and this is important -- the basic chartplotter already works. And the installation was painless and fun. A lot more fun than replacing the stupid water pump impeller.